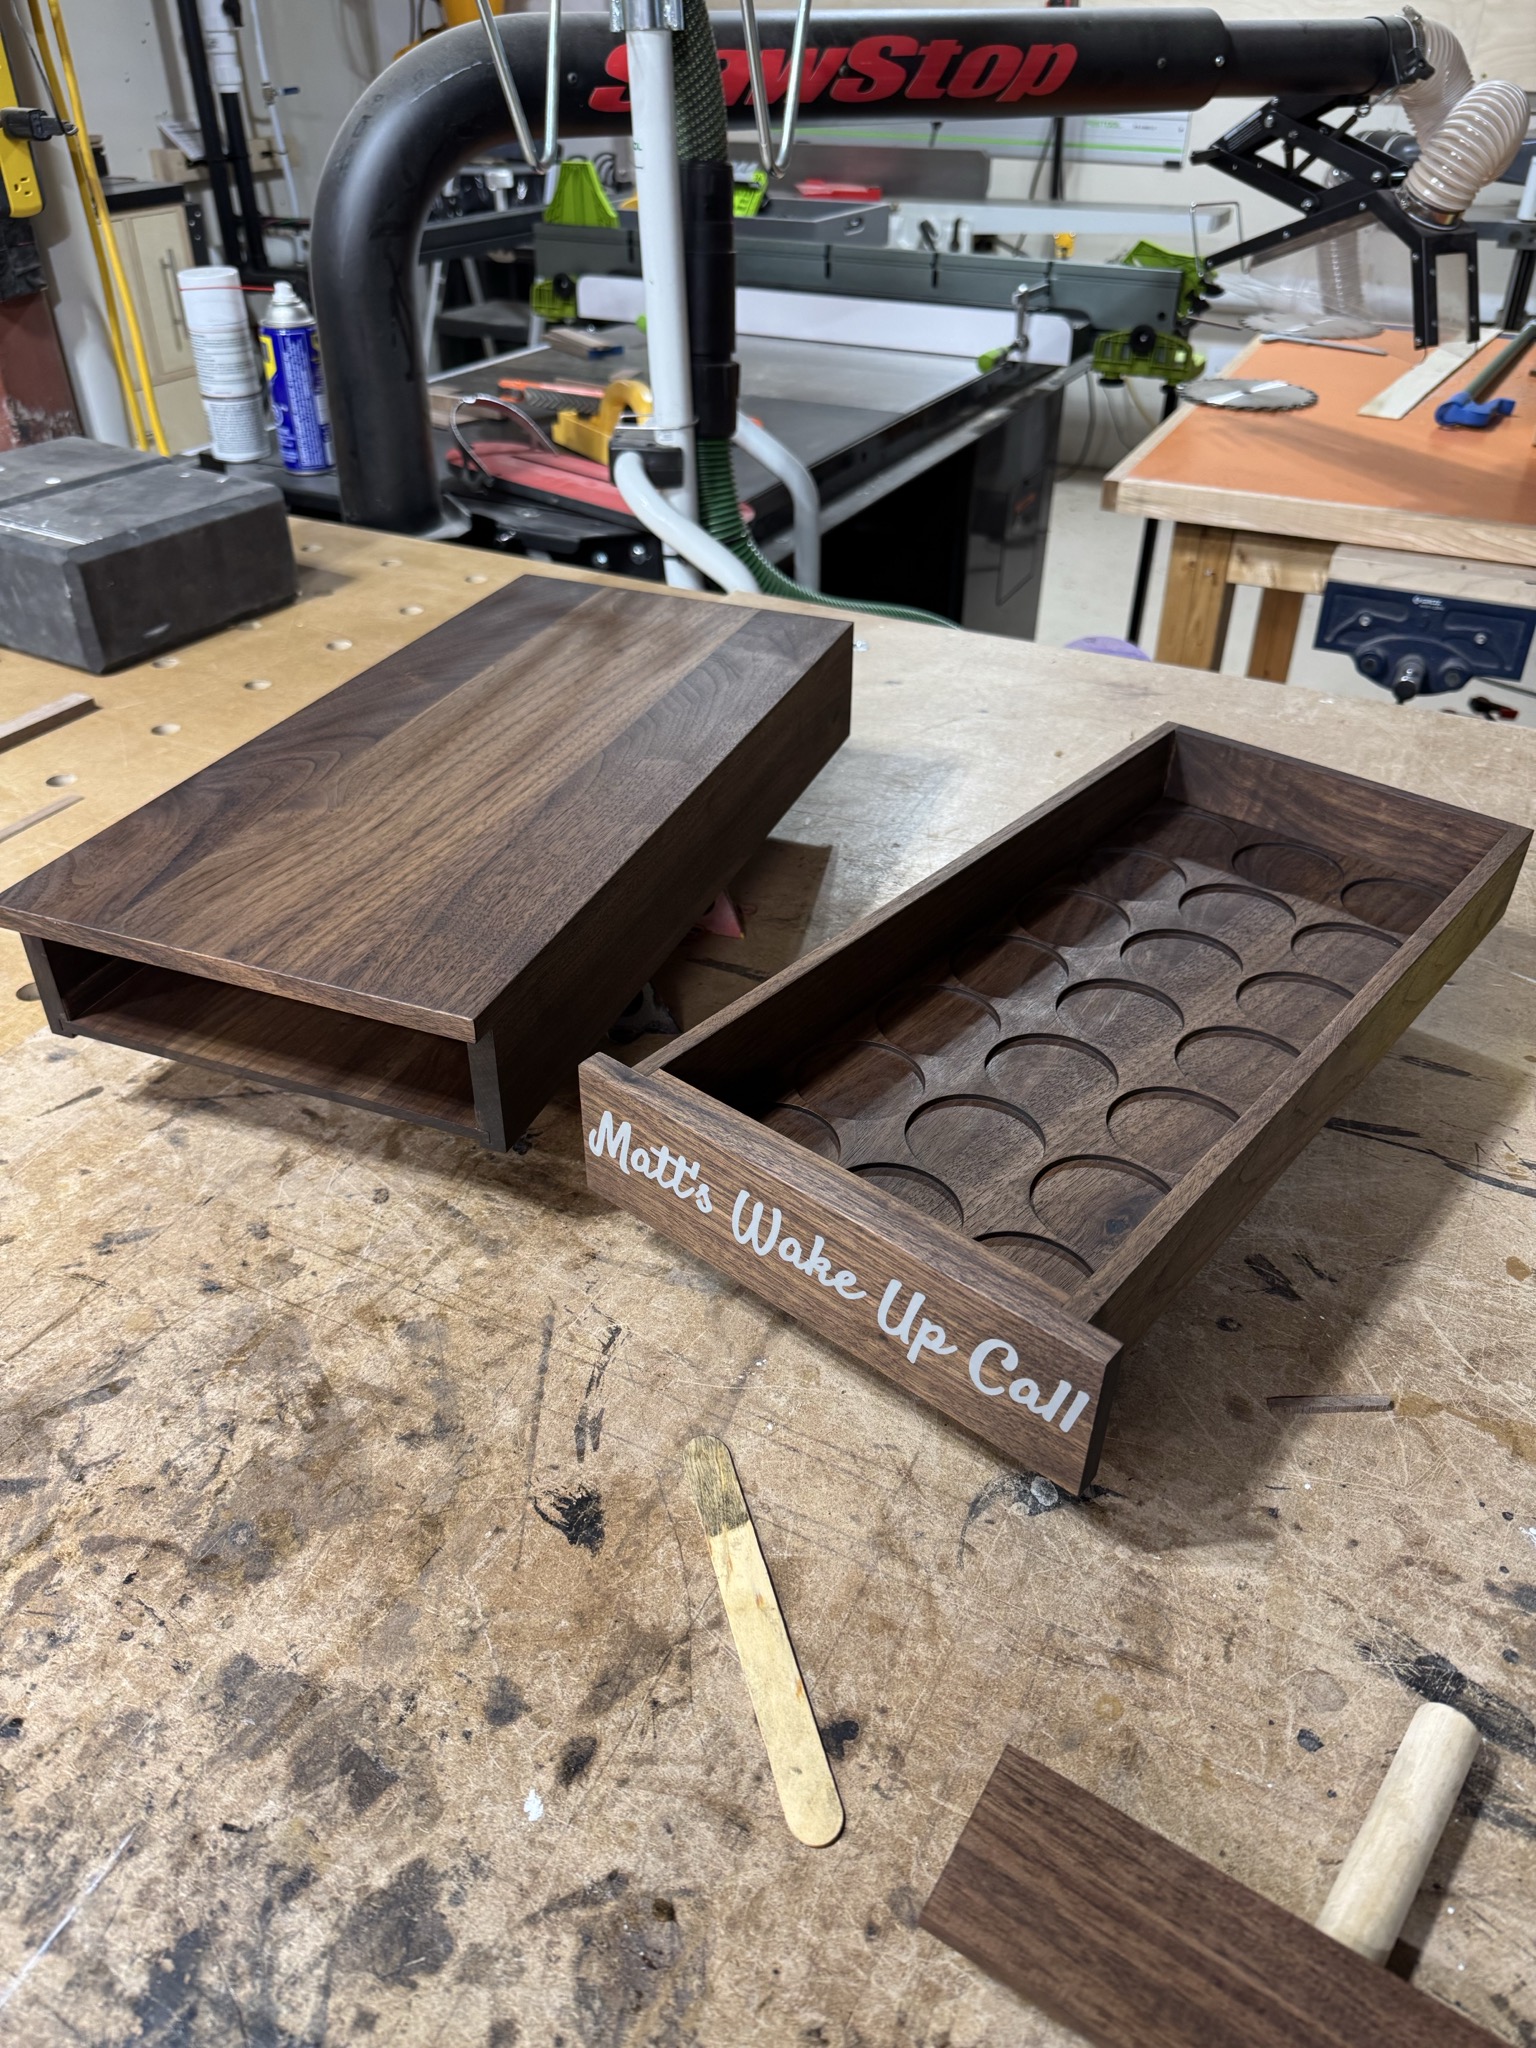
Coffee Pod Drawer
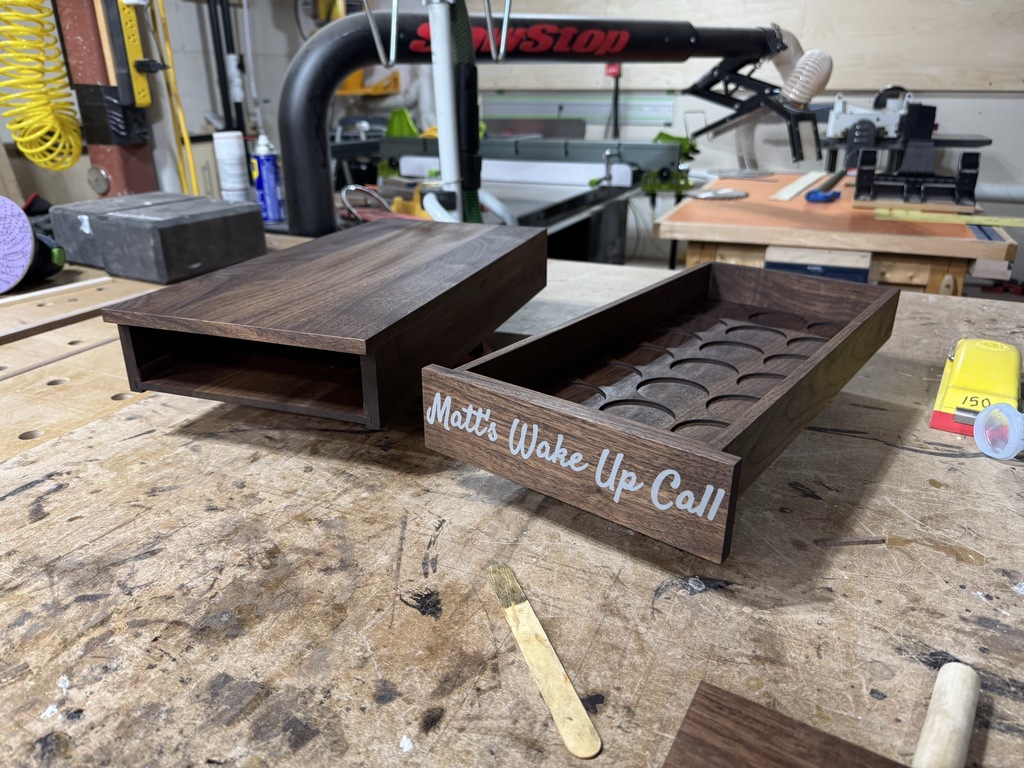
A Christmas gift for Matt, a walnut storage drawer for coffee pods
Background
I decided to make this coffee pod drawer for Matt this year for Christmas. I was lucky enough to get his name in our Secret Santa drawing, and he is famous for his love of a good cup of joe, so I thought this would be a good fit.
Custom made to fit a particular spot in his kitchen, I enlisted the help of my spy network to get proper dimensions and started the design process.
The Coffee Pod Drawer
The Design
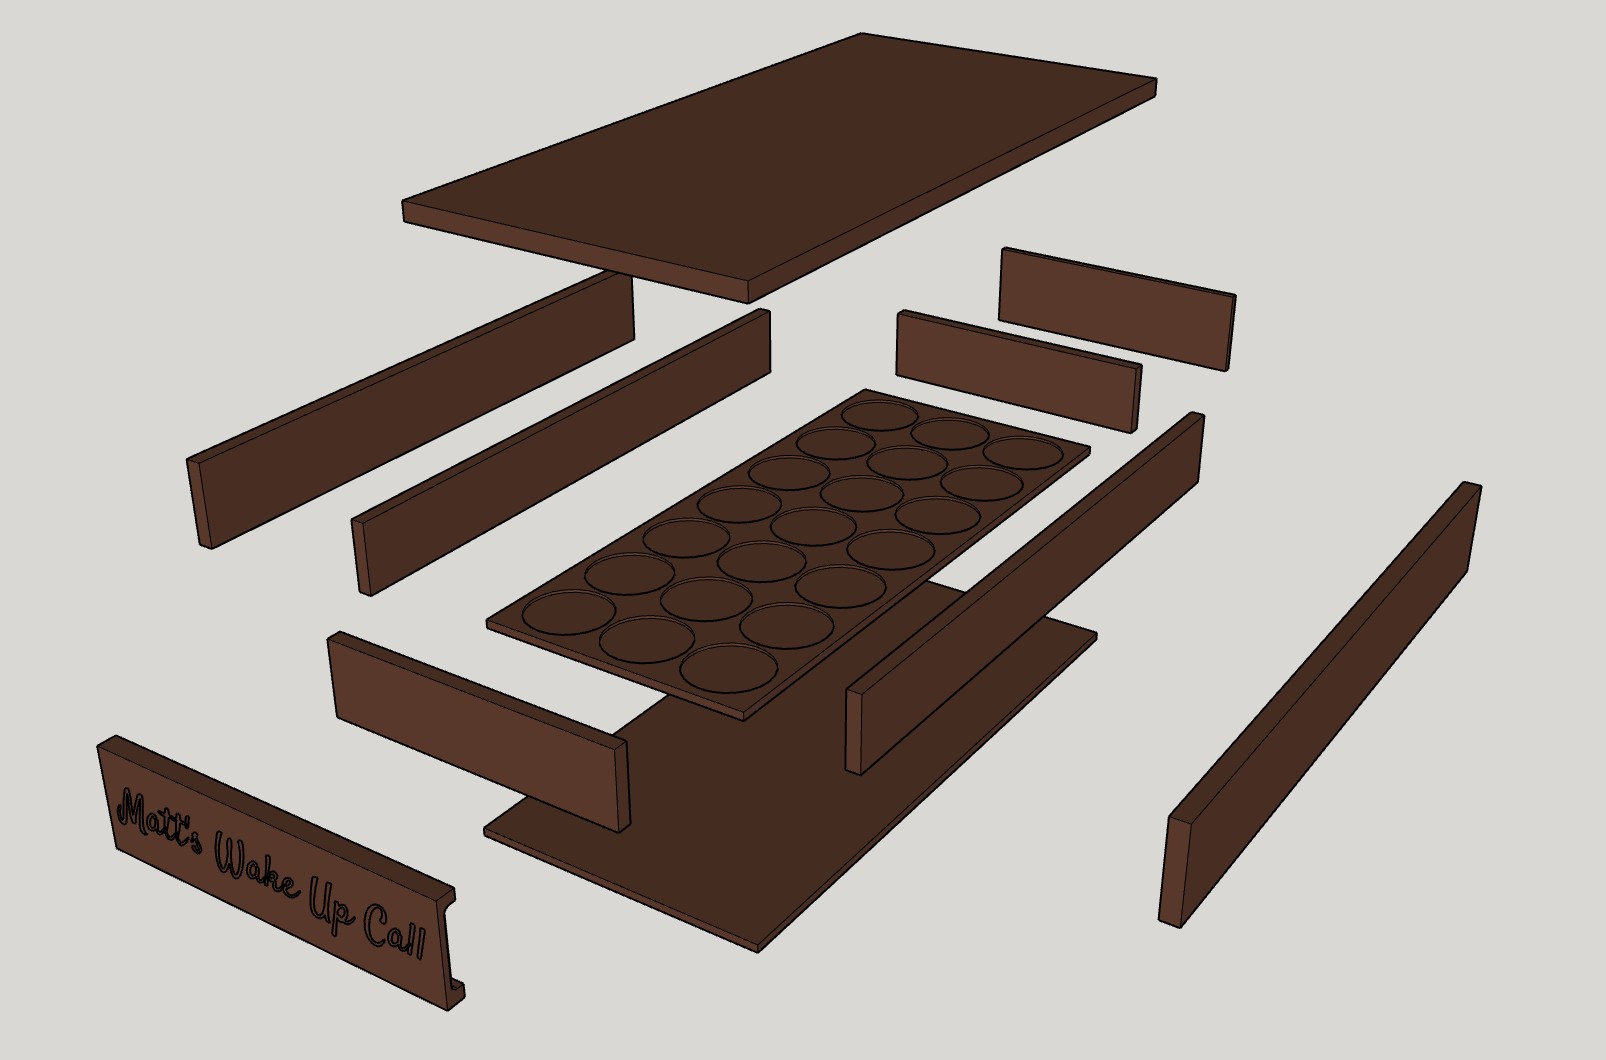
Started with Sketchup Sketchup, and did the layout of the drawer box and the drawer itself. It’s very nice to get the dimensions all lined up.
Walnut Offcuts
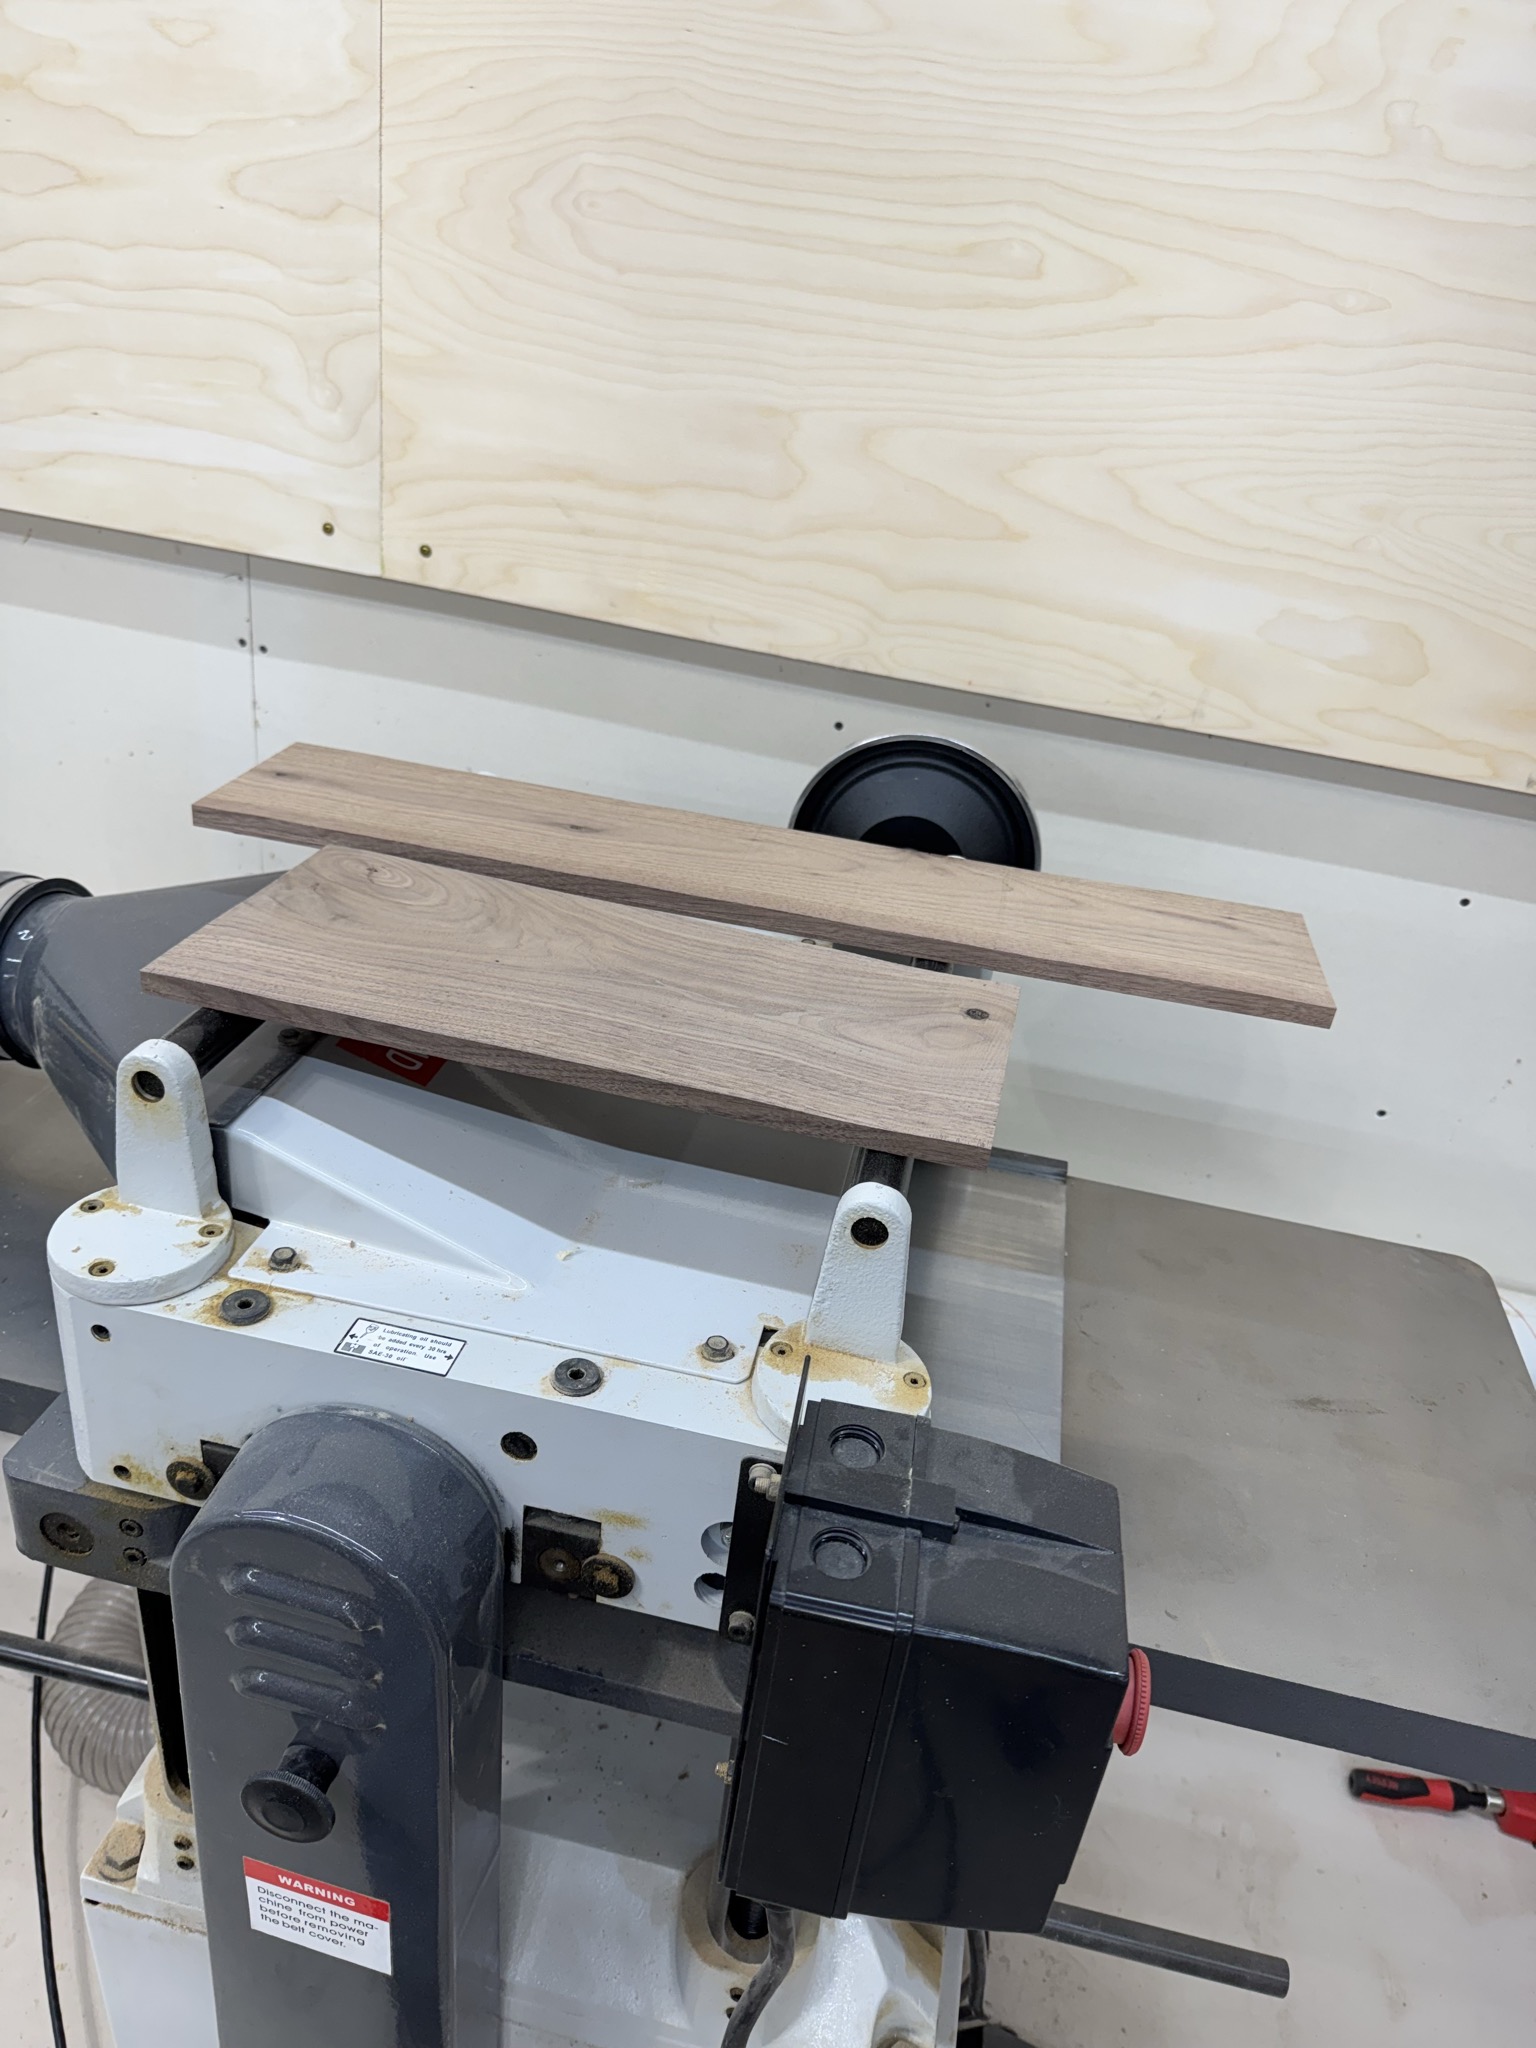
One of the Secret Santa rules is that there is a budget limit, hence I raided the offcut pile for supplies, so this cost $0 in my book. There was a surprising amount of good quality walnut available, as I had recently done a few big walnut projects.
The smaller size of this project made it easier to find pieces that would work.
The Drawer
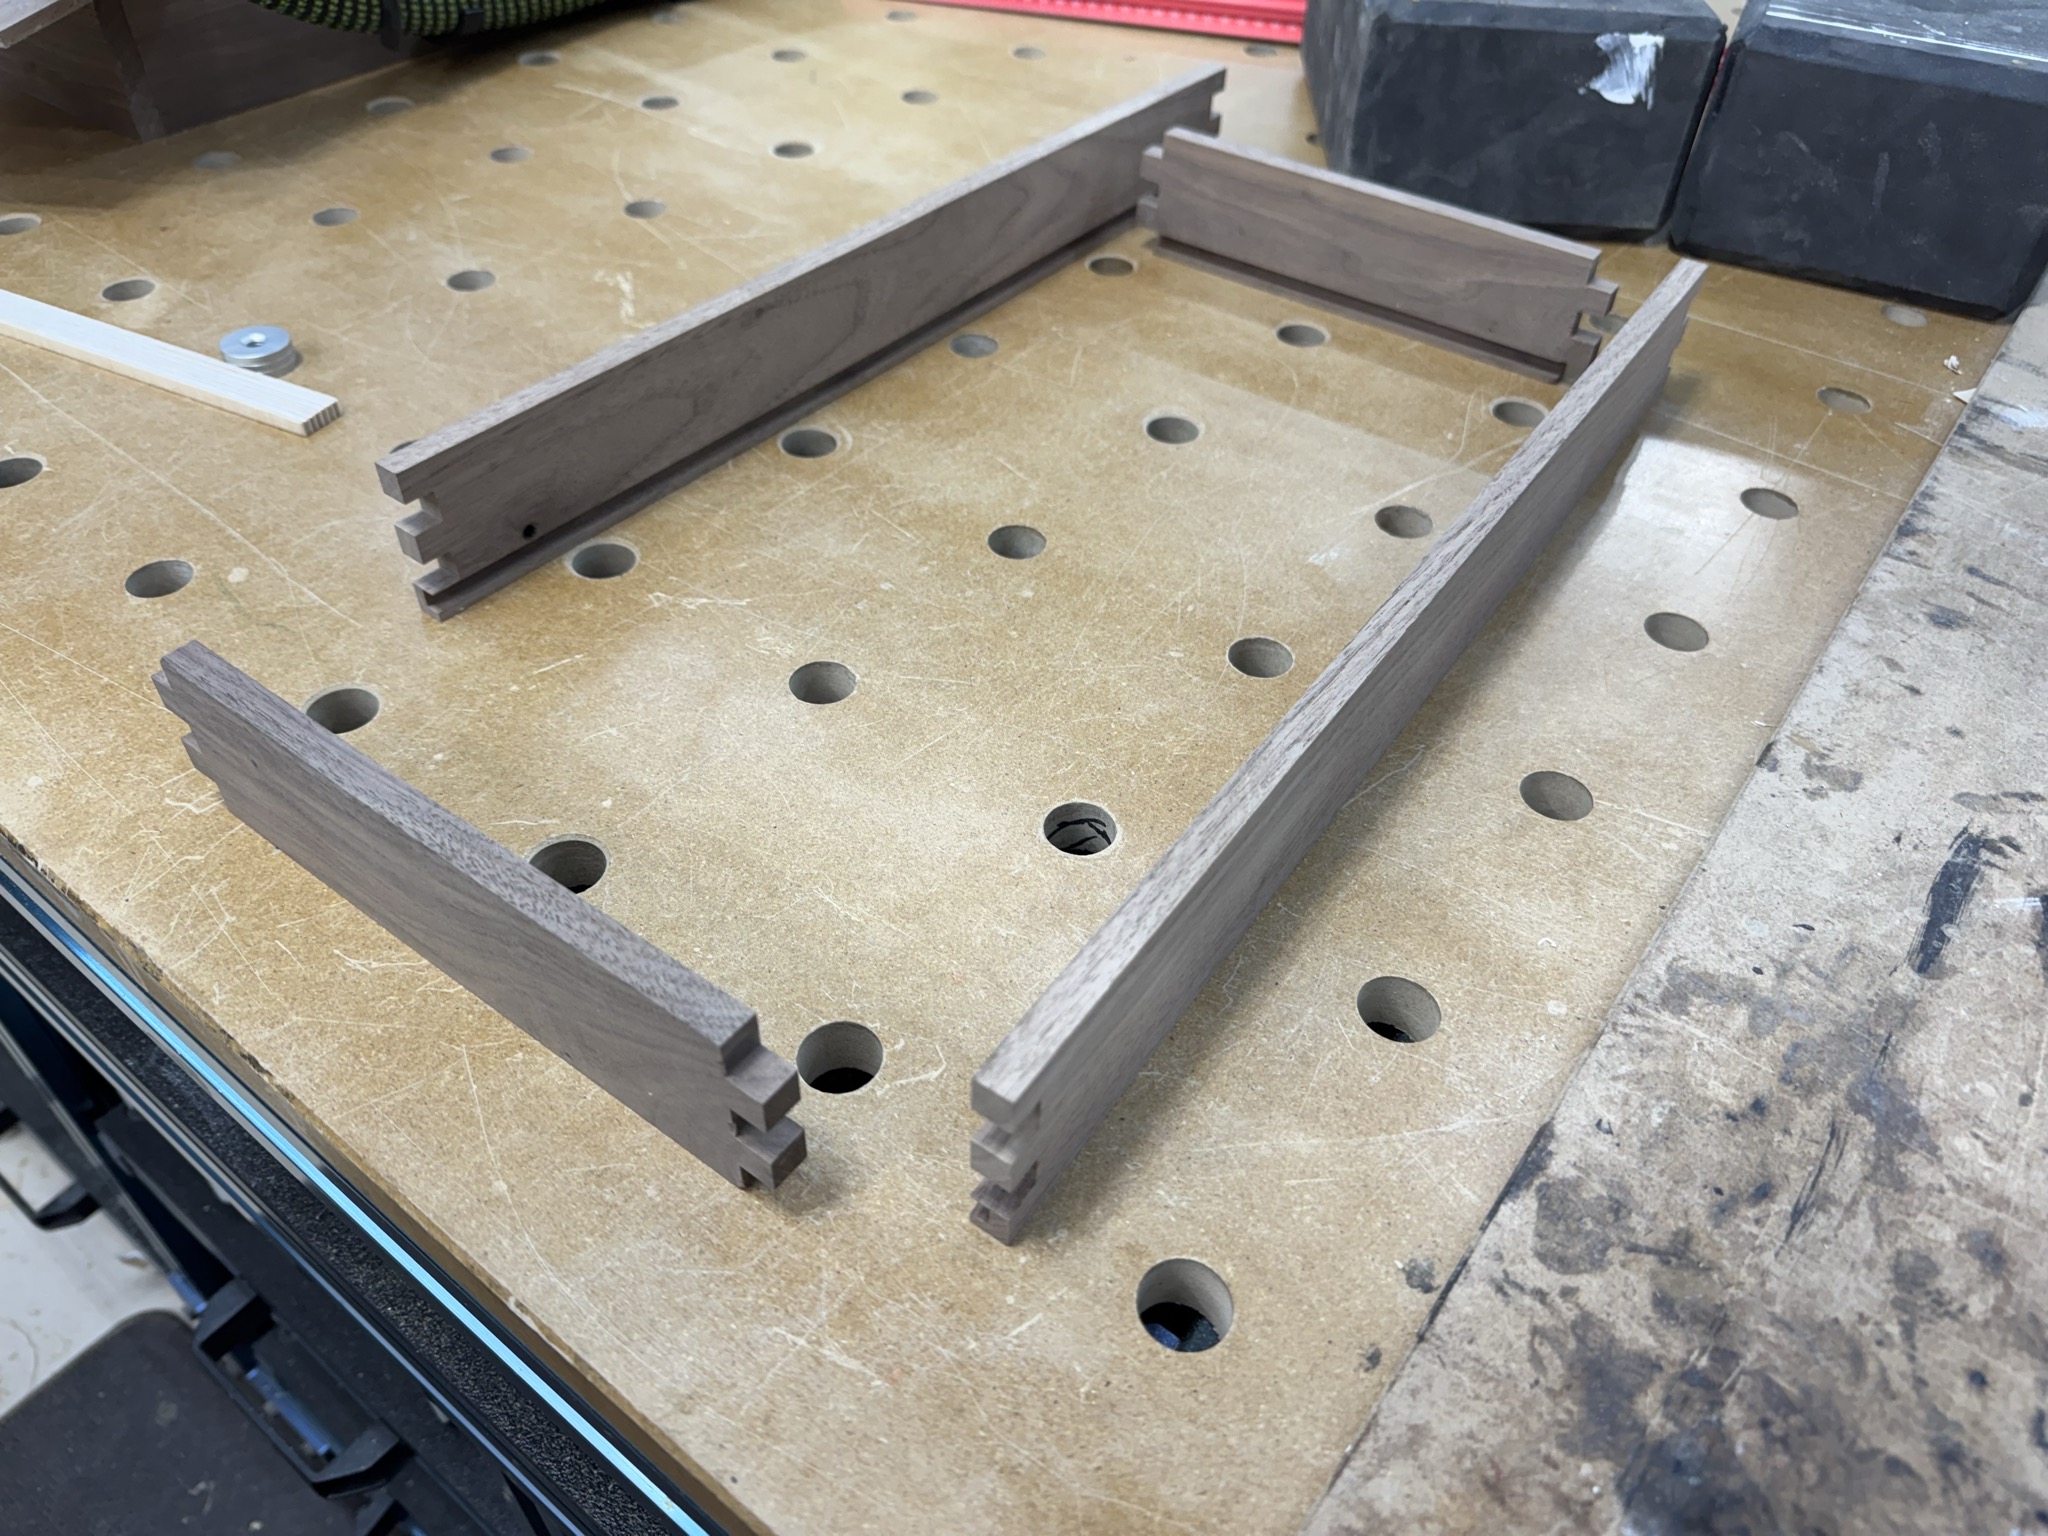
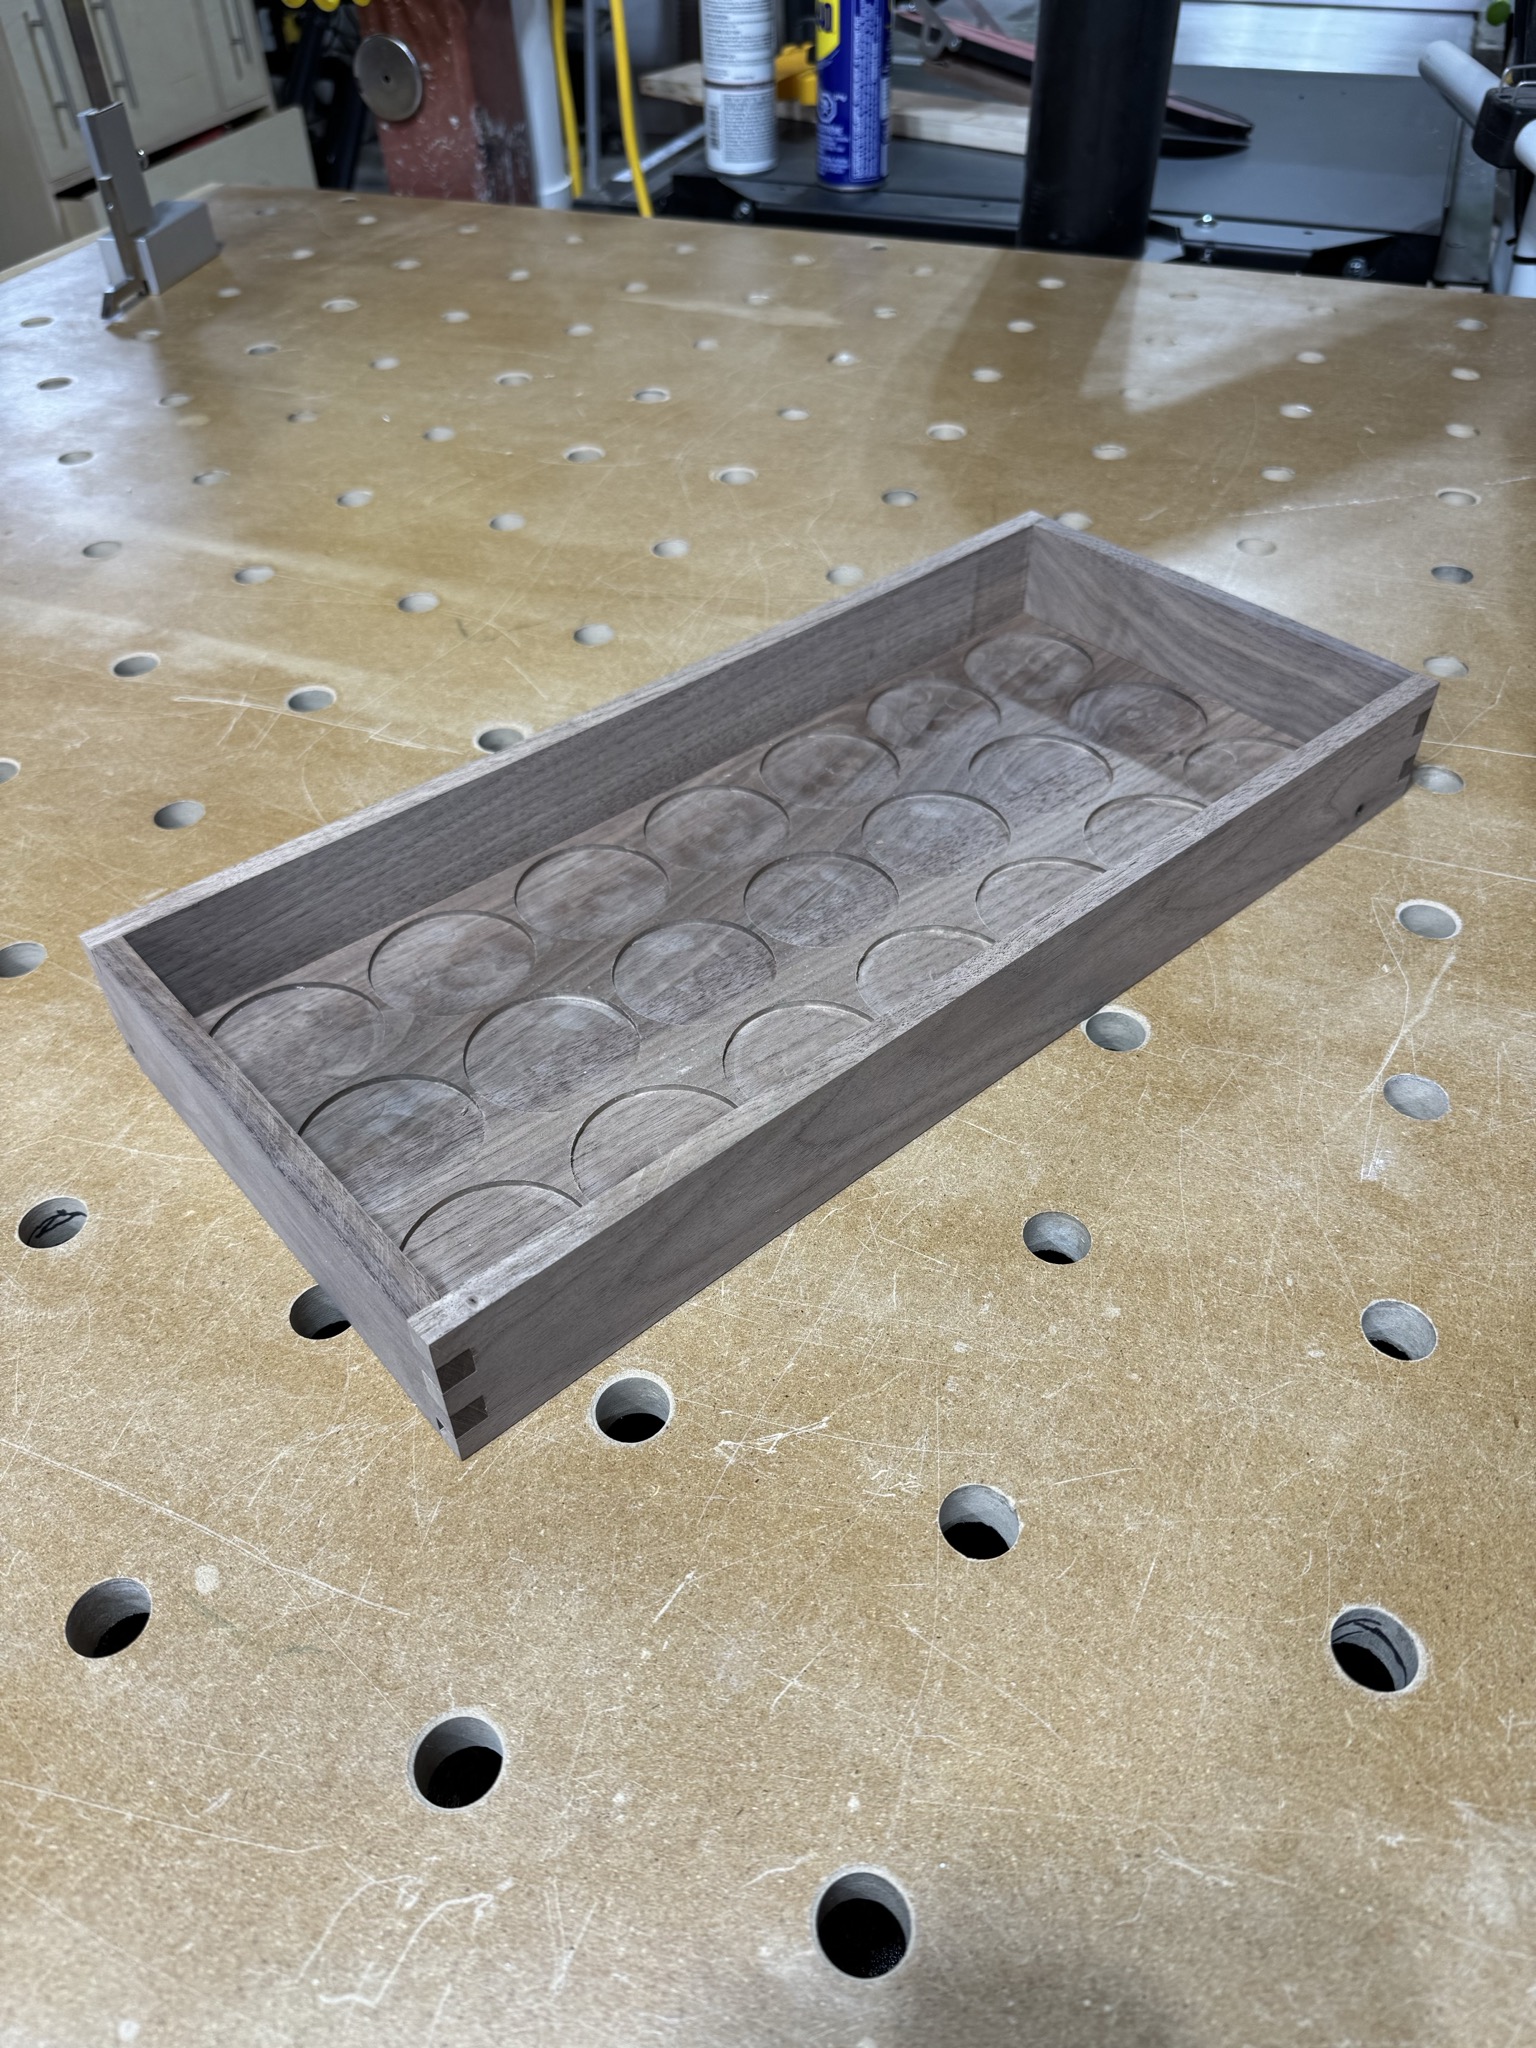
The drawer itself consists of the sides and bottom, both of which involved the Shaper Origin.
The sides were thinner than a normal box, only about 10mm thick, so the corner joinery had to be stronger than just a butt joint and some glue. I opted for finger joints (aka box joints) on this one.
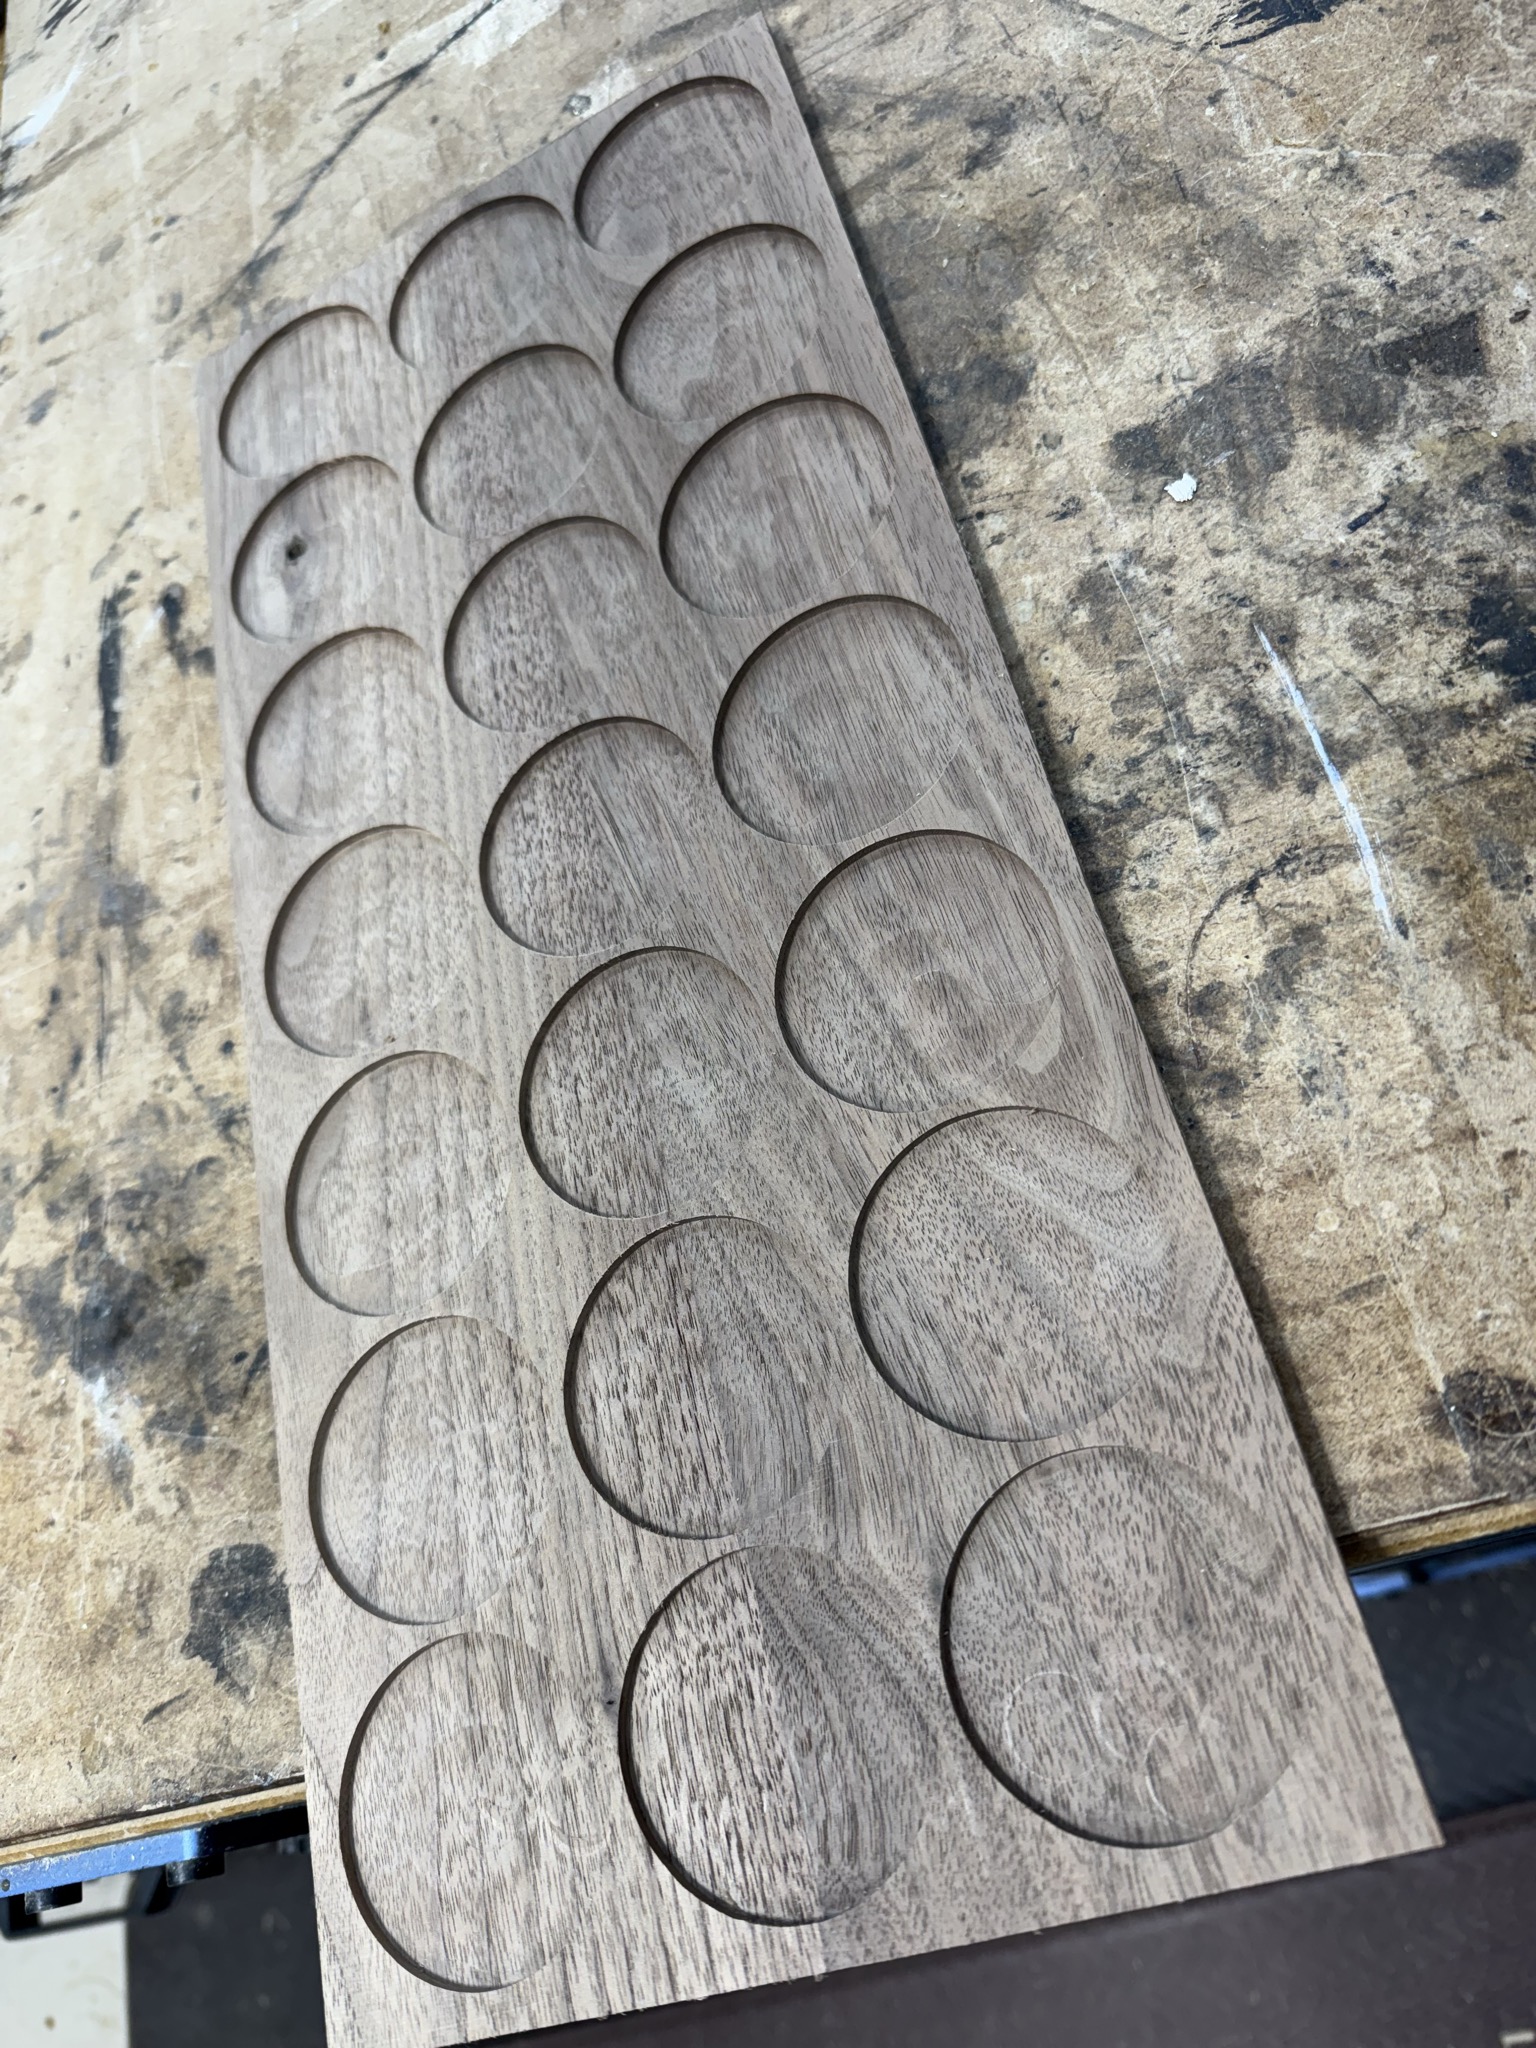
For the bottom, I carved seven rows of three circles as nestling places for the pods. I don’t know how well that will work over time as it is a bit of a pain to place them all neatly in the circles. I expect that eventually the pods will be tossed in the drawer a little ad-hoc. I know that’s what I would do.
The Drawer Front
The Inlay
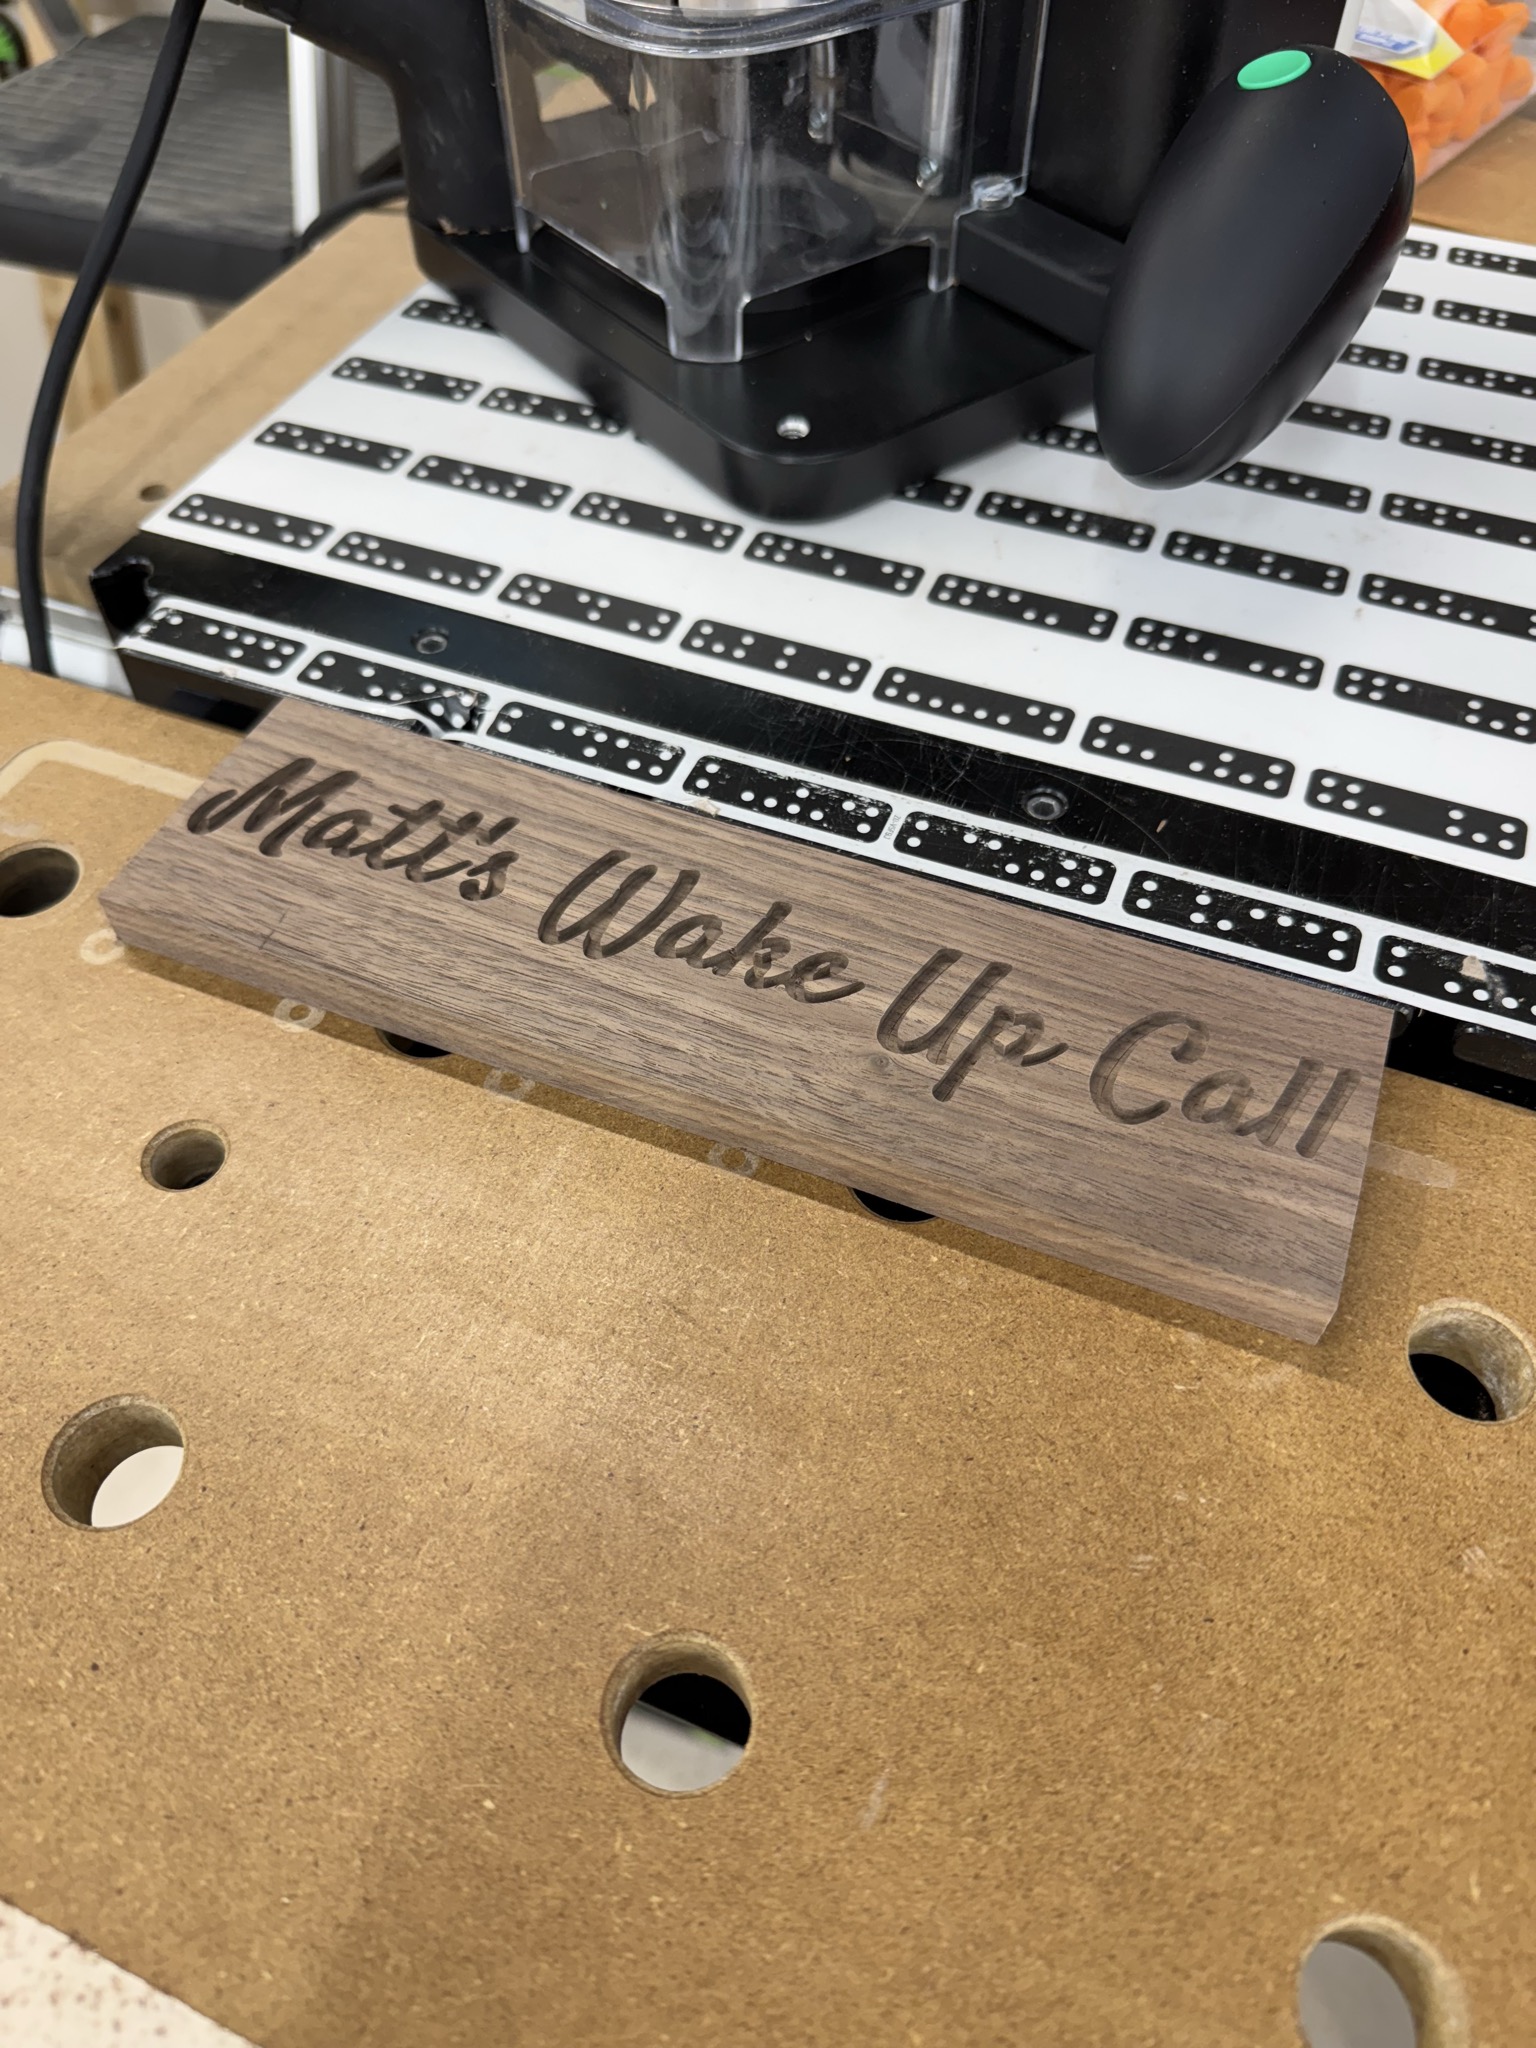
The font is called “Satisfy”, which is oddly satisfying. Designed in Shaper Studio, and carved with the Shaper Origin.
Chillin’
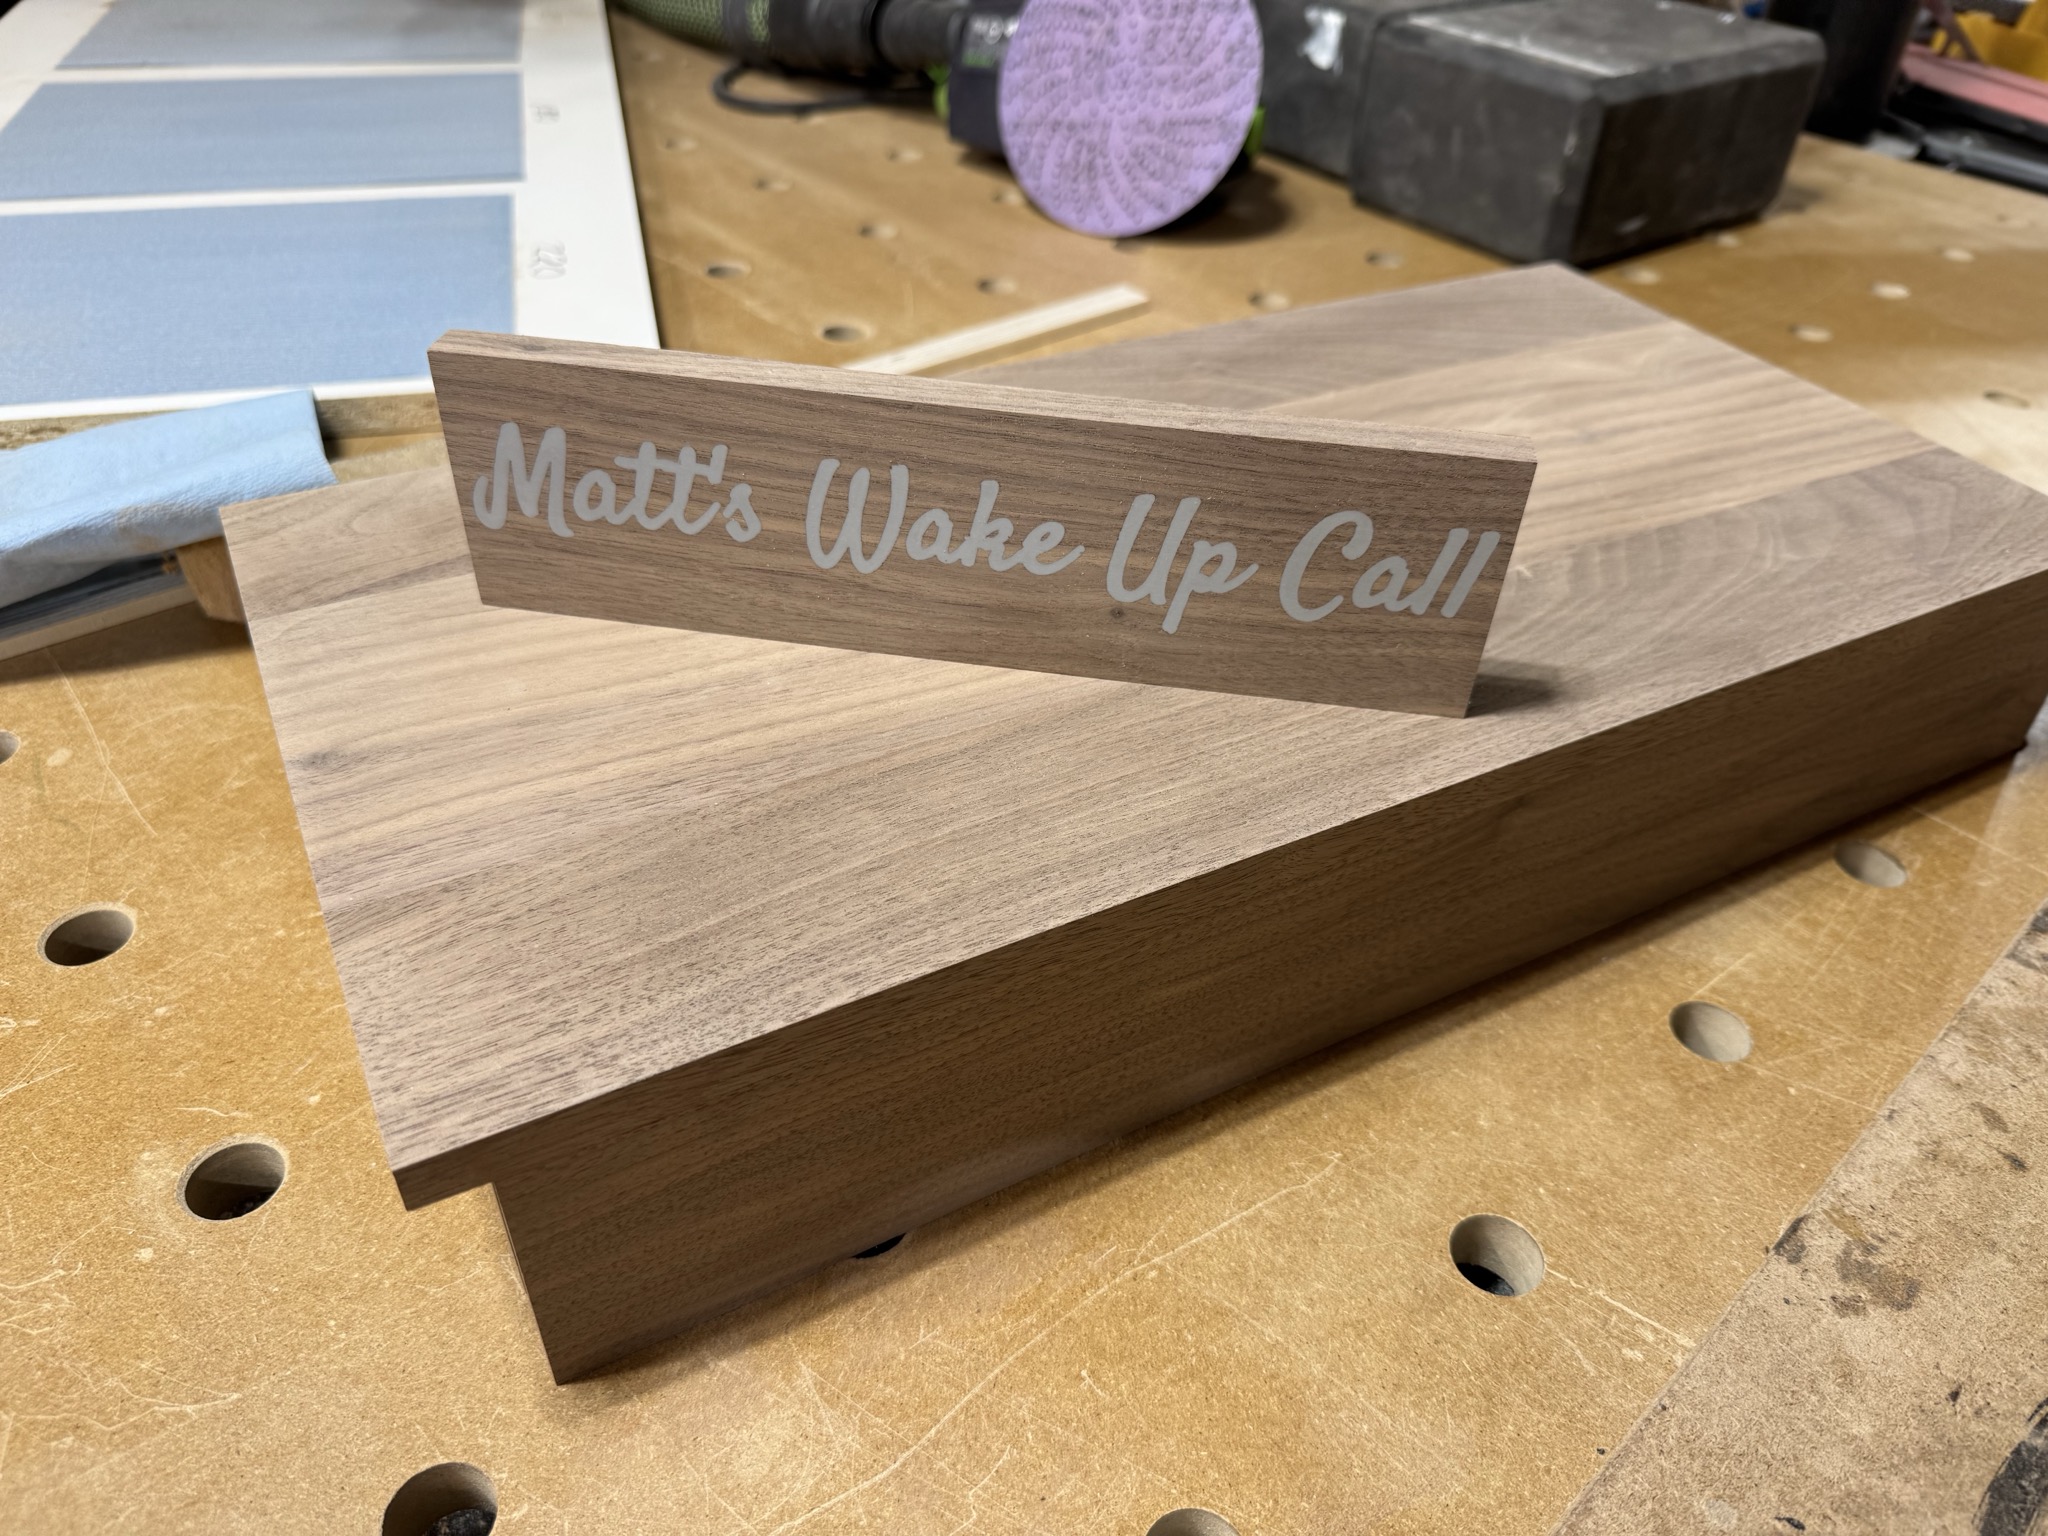
The epoxy is Chill Epoxy, a light gray made by combining white with a drop or two of gray.
Fit and Finish
The Rubio Monocoat was a bit different this time: instead of the normal two or three coats and then another of the maintenance oil, I used a new product from them called SheenPlus, which creates a satin finish. First coat is the normal walnut oil, then the SheenPlus and you’re done.
Odds and Ends
So a couple of interesting things about this project, they are small things, but as this was my first real project of the season and I am kind of rusty, I am very happy with how they turned out.
- Home made drawer slide. Well it is not a drawer slide as much as it is a drawer track, a couple of strips of wood inset on the sides of the box to make sure that the drawer is snug and centered. The hard-wax oil that is used to finish it should let it all slide in and out quite nicely.
- I made my own walnut edge banding to cover the end-grain on the front of the drawer box. I got a new drum sander about a year ago and they are perfect for things like this. I don’t think I could have made this without it.
Materials and Tools
- Walnut from KJP Select Hardwoods originally, though this one was made with offcuts
- Rubio Monocoat walnut for finish, with their new sheen product for a bit more satin look
- Shaper Origin for cutting the box joints and the front inlay
- White and gray Chill Epoxy
