Cribbage Board
A birthday gift for Dad
Origins
For my father’s birthday, I made him this cribbage board from a nice piece of marbled walnut. He says it is working well and that it keeps very good score. That’s the main thing.
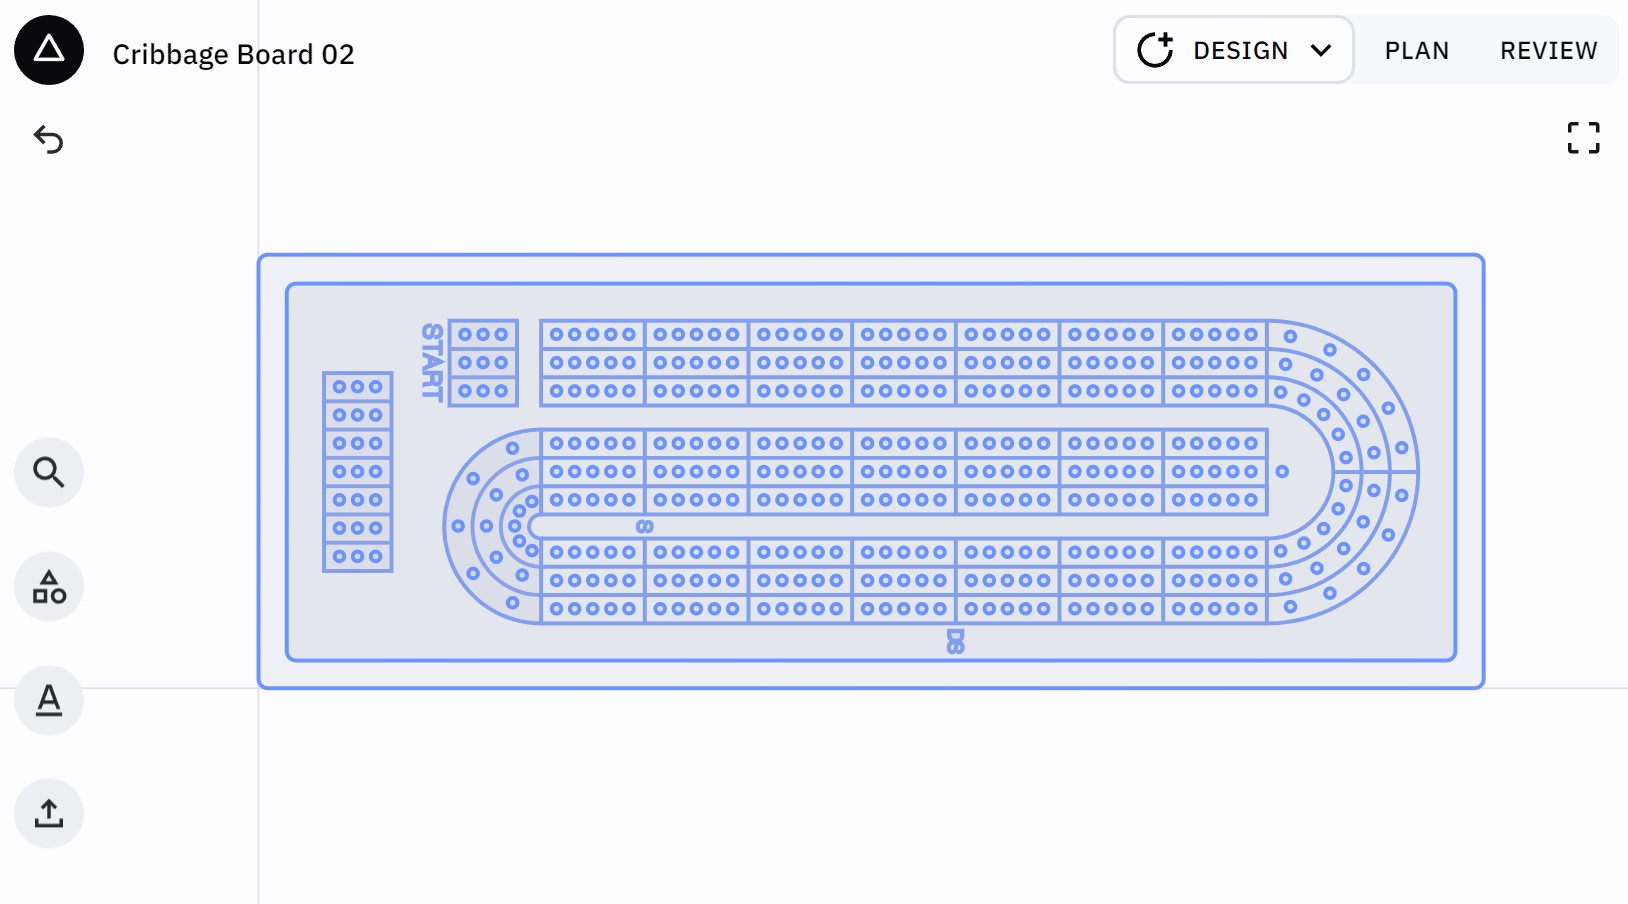
Almost half the work on this one was at the computer making sure the design was right. I didn’t do the entire layout, I spent about $20 for a design off of Etsy, then made a bunch of modifications using the online tools from Shaper Hub.
Under Construction
Lots of pictures on this one. Hey, it was a lot of work.
Layout
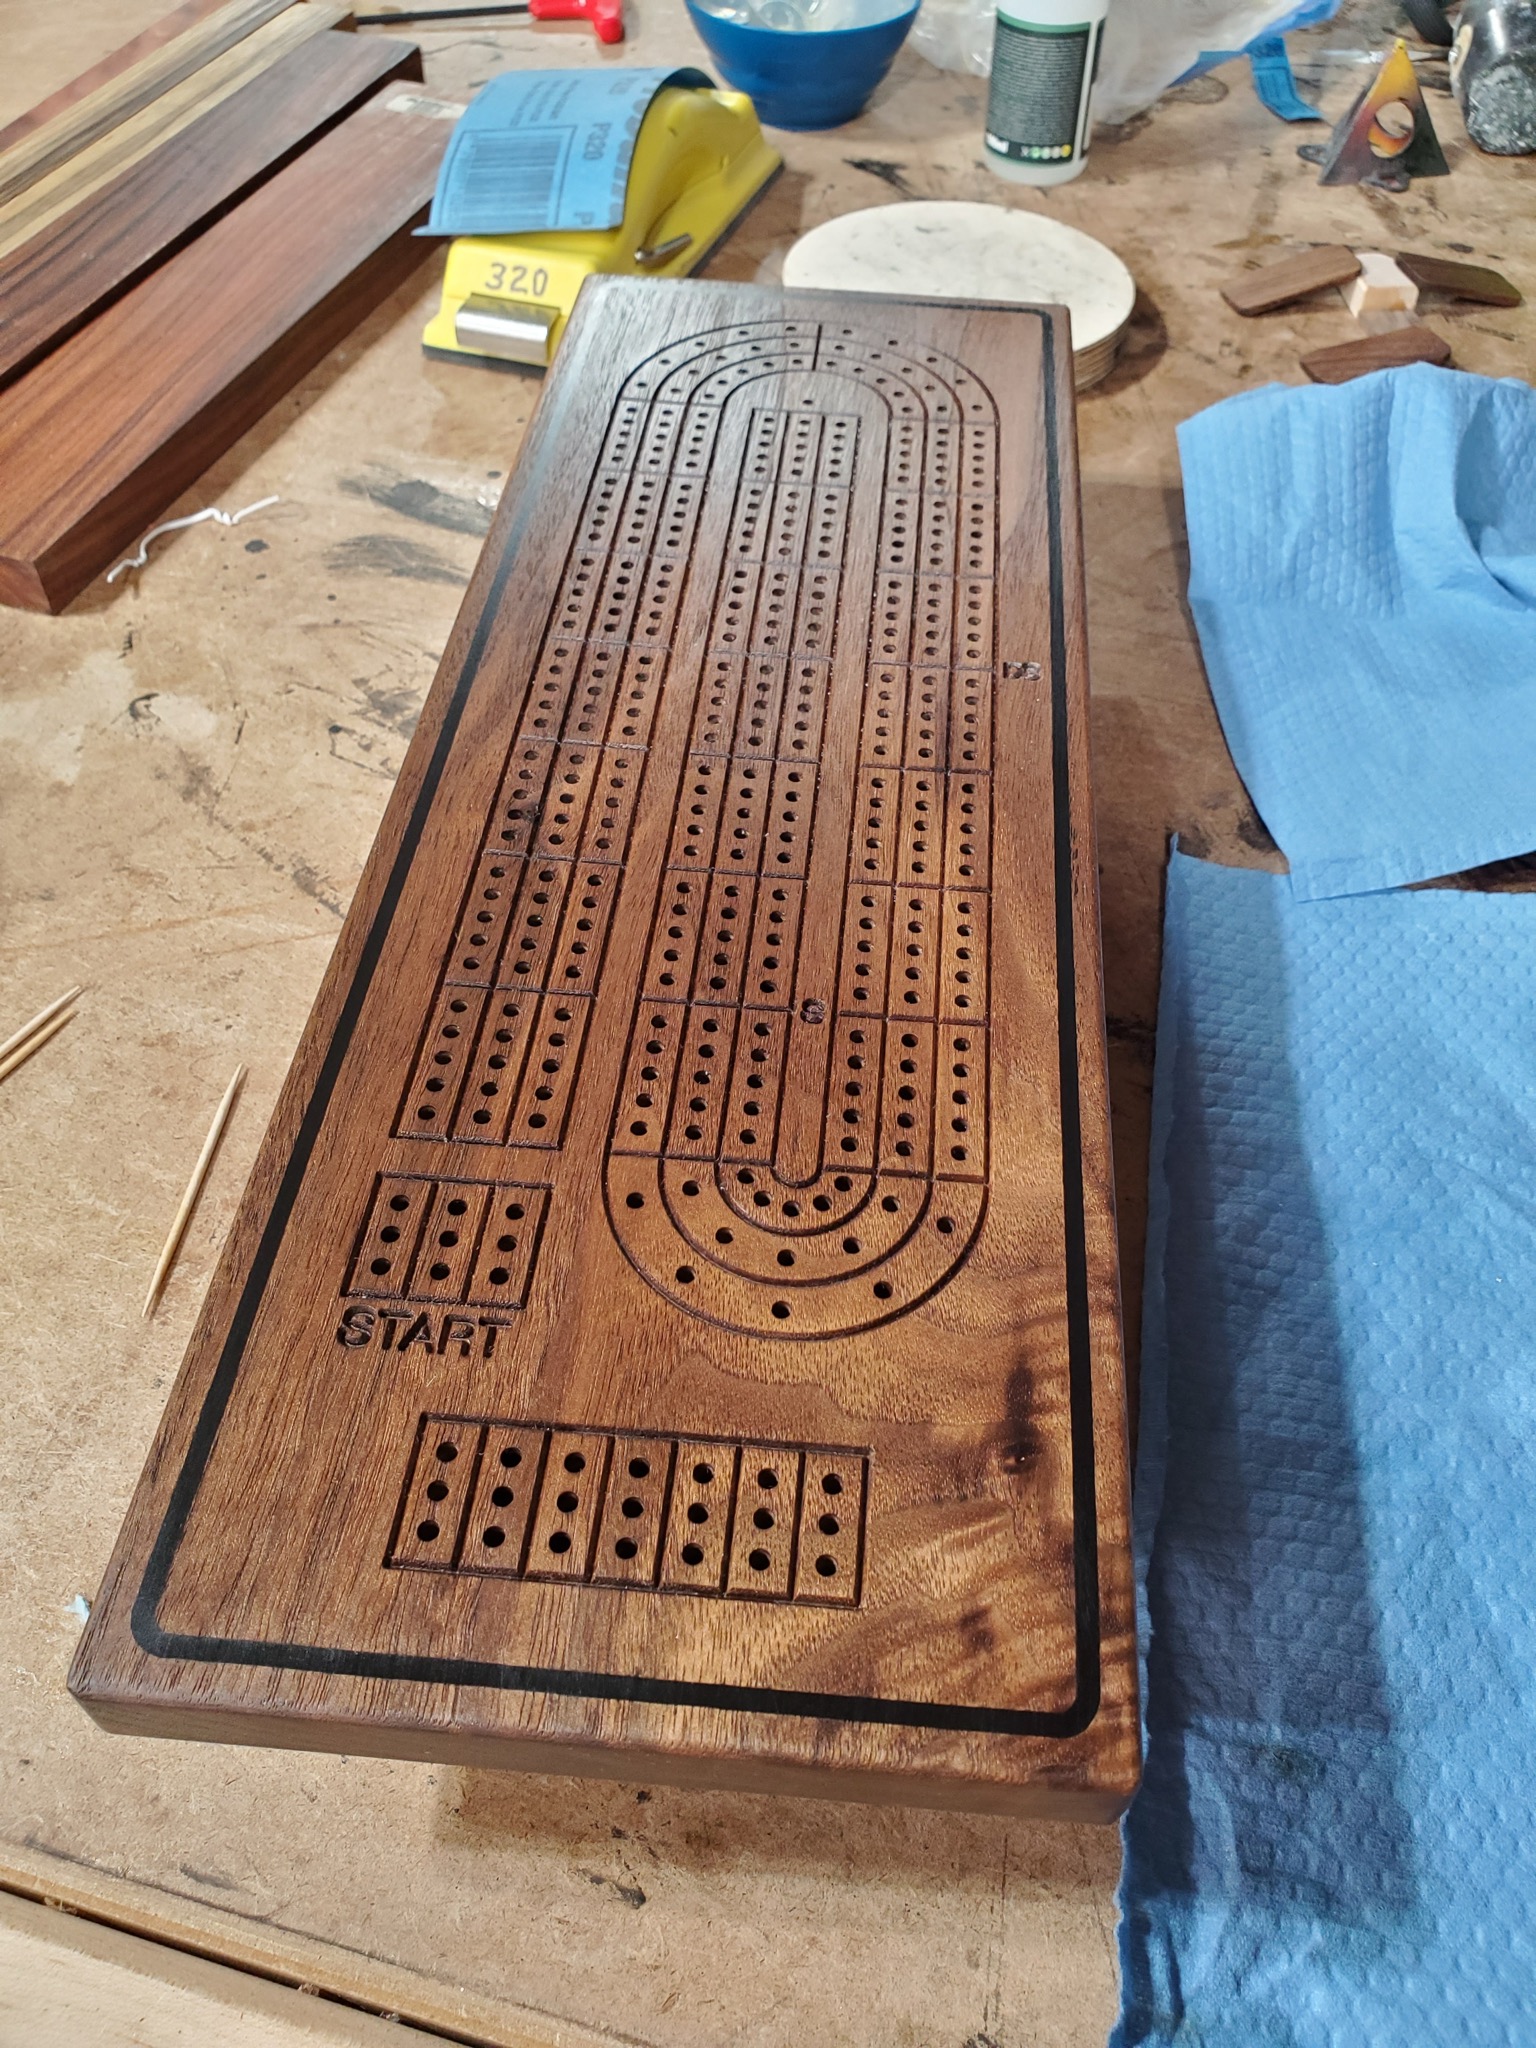
The sheer madness of trying to do 391 individual holes with the router, even a computerized one, is…well…madness.
First you need to be sure that the computerized layout has no flaws. If you discover one in the middle of the cut, well good luck with that.
Then you need to grid it all up. That means to mount it on the table securely, get it aligned right, then set a grid to the outer dimensions of the board, and place your drawing in the right spot.
Then you can start cutting, but you need to do it all in a single pass. No taking a break and coming back after lunch.
391 holes. Go ahead…count ‘em.
Finish
Finishing this one was a little tricky too. I use a hard-wax oil called Rubio Monocoat for most of my projects theses days. It makes for a great, durable, and repairable finish. It is also way less finicky that other finishes: you apply it, wait a bit, and wipe off the excess. Nothing really sticks to it, so shop dust is not so much of a problem.
But then there was the problem of the wax and the holes. The wax loved to get in there, but the look was not good, and I am sure the functionality would have been even worse. A 1/8″ drill bit came to my rescue, but like I said, 391 holes. Go ahead…count ‘em!
Sanding was also a little…special. Sand too little and it’s rough obviously, but sand too much and there are any number of unrepairable things that could go wrong.
The Backside
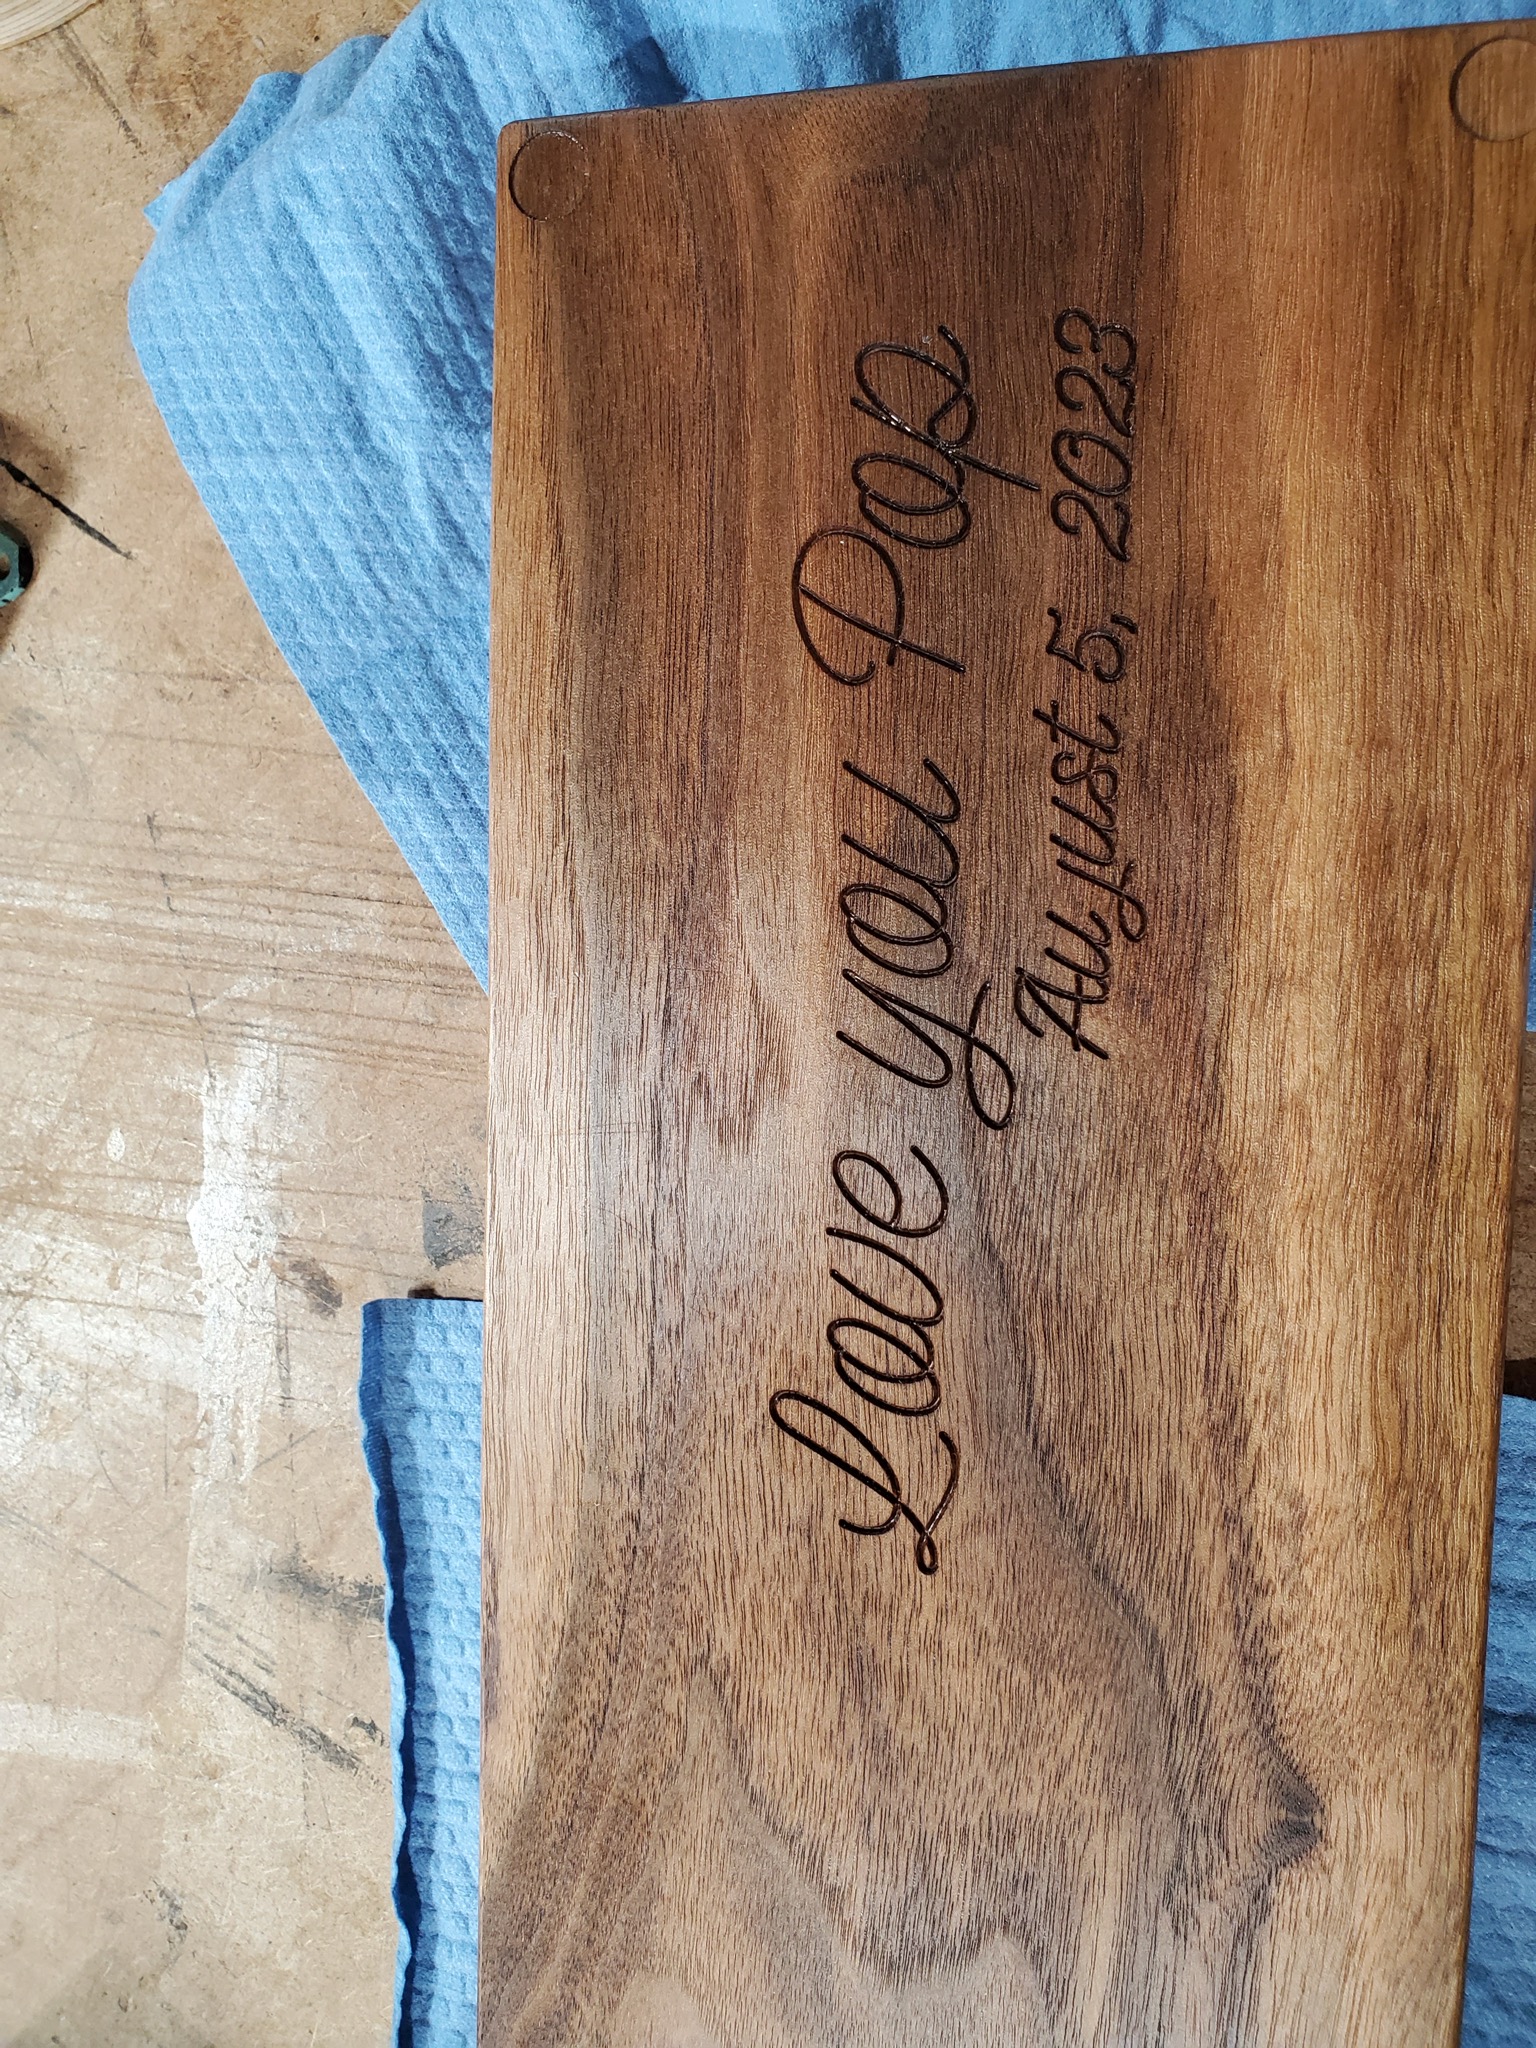
On the back, I did a little signature thing. I eventually fixed the half-finished g in August. I also carved out a couple of storage holes for pegs with a magnetic seal.
In Production
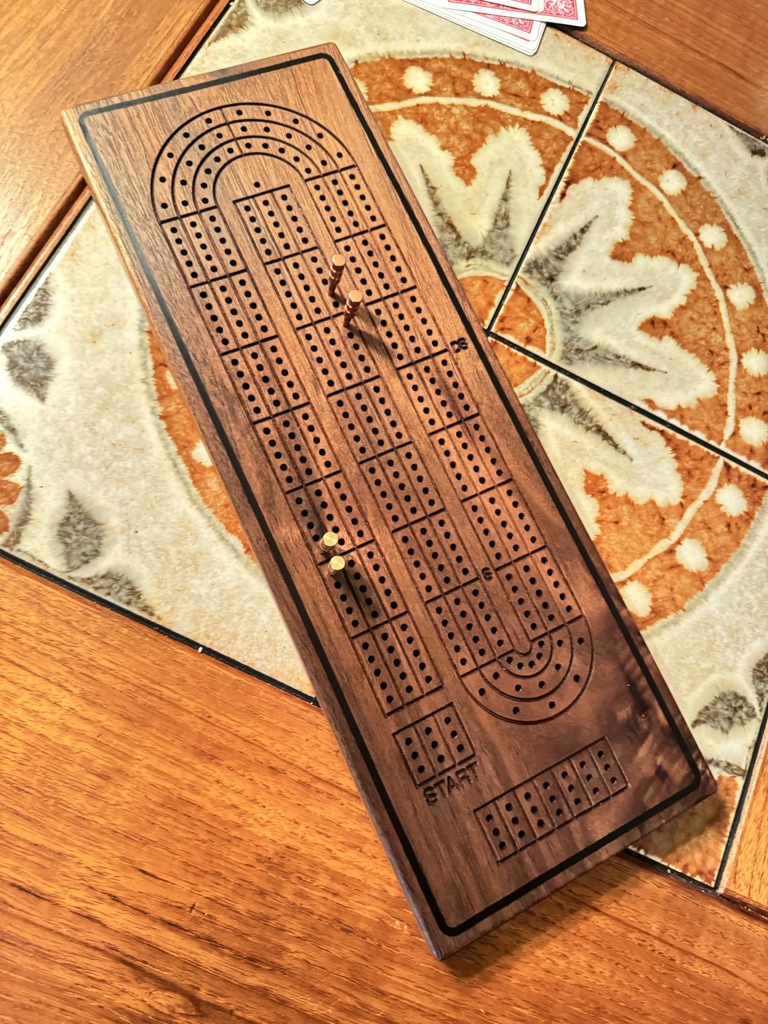
The pic below is of the board at my dad’s place on a nice teak dining table that has been in the family for over 50 years. It’s nice to mix the old and the new. Here he is beating me 112 to 11. I need to practice a bit…a lot.
Materials
- Walnut from KJP Select Hardwoods
- Black Chill Epoxy inlay
- Shaper Origin for carving


