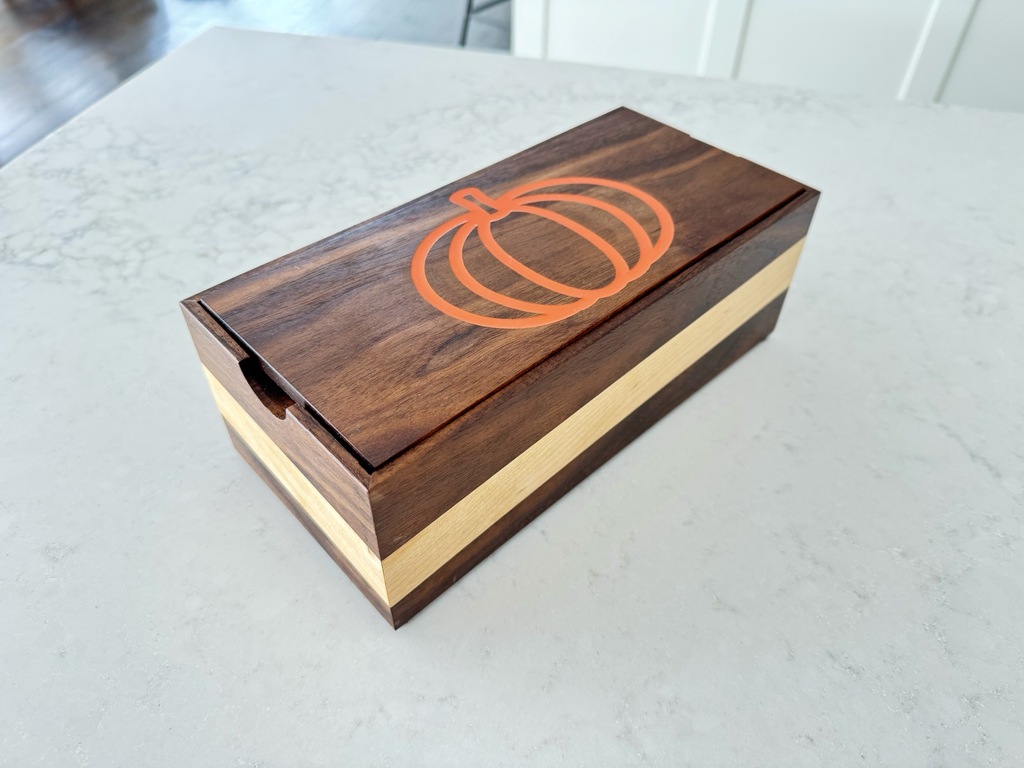
Keepsake Box
A walnut box with maple pin-striping, and a pumpkin logo on the top
Some Background
I only had a couple of days after finishing the previous project before Debbie’s birthday, but I decided to try something new and get it done in time for her special day.
Under Construction

Flowing Grain
On this box, the grain flows all the way around, and is sometimes called a “continuous grain” or “matching grain” design. When done on a piece with a horizontal surface that flows onto a vertical one, it is often called a “waterfall”.
This is actually a pretty complicated thing to do. And if you make a mistake on a board, you need to fix it or else throw out all the boards, since the grain won’t match if you try to substitute a new board.

Tough Cut
So what you do is make a board long enough to make one side plus one end of the box. You need to make it thick enough so that it is double the thickness of your final boards.
In my case, I did the above, but also put a maple strip in there, fashioned at an angle, to give the piece a little contrast.
Then you cut the board in two, slicing it down the middle, yielding two long boards that are each in turn cut to produce an end and a side piece. If you do it right, the grain looks like it is flowing all around all four sides.
I am not sure I am making myself clear here, nor do I think I can in this post. But if you really want some of the finer details on this stuff, check out the YouTube video from The Wood Whisperer on the Four Corner Grain Match. Marc is one of my YouTube woodworking heroes, he always produces good, helpful stuff in a fun and entertaining way.
Orange Chill Epoxy for the inlay, which was carved with the Shaper Origin
All done

Materials
- Maple, Walnut from KJP Select Hardwoods
- Chill Epoxy with orange colouring
- Festool Domino for mitre joinery
- Rubio Monocoat Pure finish