Network Upgrade
A tech post, upgrading my home network from 1Gbps to 10Gbps
Background
This post is a bit more nerdy than most, but I, a nerd, am quite okay with that.
So over the past few months, my Internet Service Provider (Rogers) has upgraded the speed to my home from 1Gbps to 2Gbps. Yes, twice as fast, super cool! While this is great, and the primary network gear in my rack could handle it, all the secondary pipes were maxing out at 1Gbps. That won’t do, no sir, not one bit.
So I decided to do a network upgrade. Of course, when upgrading a network, you have to do a little planning, a little future proofing, and a little clean-up too.
The Mess
So when we built the place back in 2014, I asked my builder to put network cabling throughout the home, with at least one ethernet cable to a location in every room, sometimes two locations. He had to look for somebody to do the work of course, so he tapped his in-house vac installer guy, Al, in the hopes that he could do it.
Now Al is a great guy, but this was indeed his first rodeo putting something like this together. So he did what any savvy installer would, he consulted the experts at a custom home AV shop here in town and asked them what he should install.
Now this is a good shop too, but they gave him instructions on installing the most mondo beefy network cabling one could think of for a complete end-to-end home automation experience. This meant five ethernet wires running to each and every location I specified. This is all fine, I put having that much ethernet cabling in the ‘good problem to have” category.
But when you run all those wires back to the same location in the basement (it’s called the home run if you’re interested), creates a really big cluster of wires coming together behind my equipment rack. I had to sort thru them all to get the right ones to plug into the gear, which I thing took about two hours on its own.


My old gear was facing the back of the rack, to make plugging things from the rats nest easier. You can see some of the mess dangling in the back.
Phase 1 Complete

The first order of business was to get the new gear mounted on the front and run the wires to make sure that everything worked.
Sometimes things get worse before they get better. This is one of those times.
For those interested, I run Unifi gear from Ubiquiti. They make pro-sumer and enterprise networking gear. It is really really good stuff if you ever want to upgrade from the stuff your ISP gives you.
Phase 2 Complete

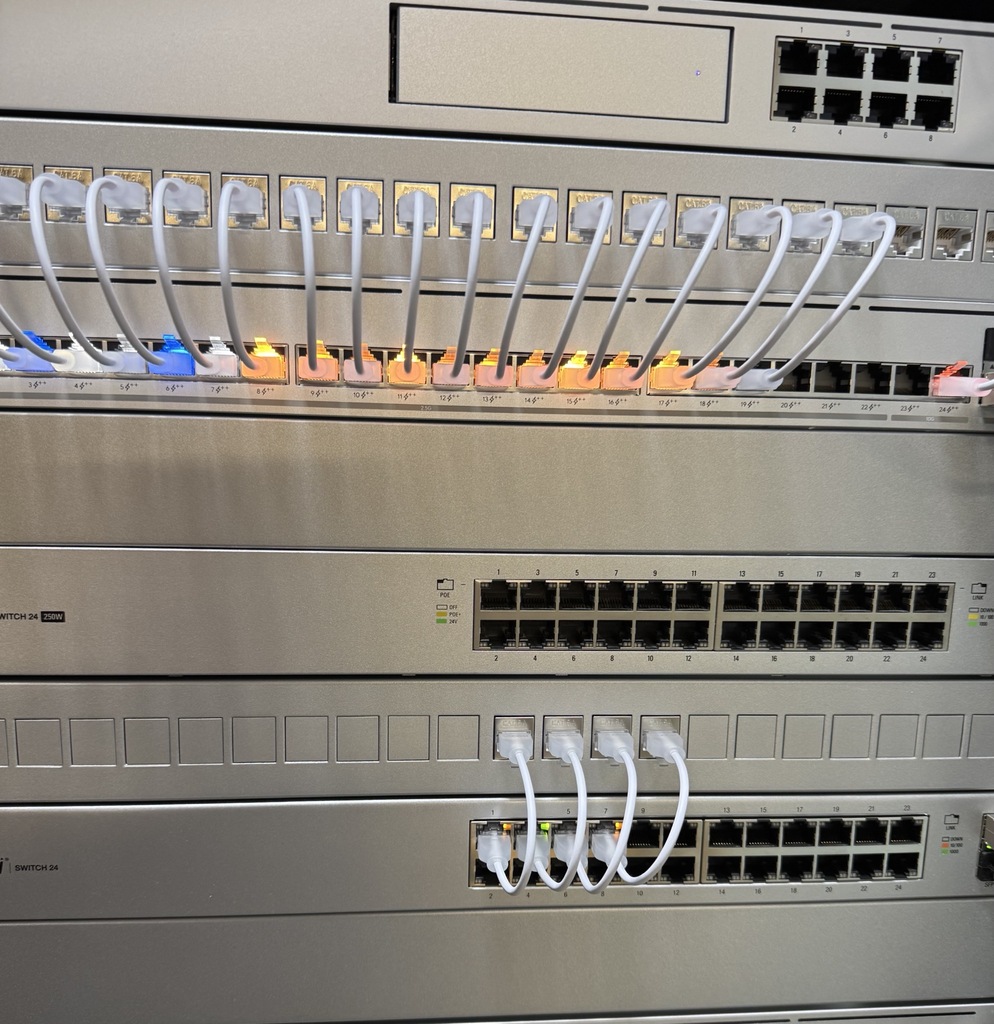
Phase 2 consisted of some patch cable management and general cleanup. This phase only took a couple of hours but it was the cream in the coffee.
The empty switch in the middle is a backup in case one of the others fails. It is an older, slower model, but will do in a pinch.
The lights are a bit of kit from Ubiquiti called “Etherlighting”. I never knew I needed that, but clearly I did.
Results
Very happy with the results, both the cleanup and the speed.

Now all I need is for Rogers to increase their upload speed to a reasonable 1Gbps and we’re golden. Not holding my breath though.
Update
Got the new UNAS Pro (Unifi Network Attached Storage) box and installed it alongside the other gear. It is a bunch of storage drives used for backups and sharing files. It is the new kit on the bottom.
