Serving Trays
In this episode, we experiment with epoxy inlays in difficult spaces
Introduction
I went for a bit of the artsy, rustic look on these. They were a bit tricky, in the sense that with the epoxy inlay in the tray bottom, suddenly decisions about which part to do first become much more important. How do you assemble it, before or after the epoxy? How do you finish it, before or after the epoxy? Answers! I demand answers!
These were created to go with with the long centerpiece that was built about a month later.
The Design
There was a fair amount of Sketchup work involved in designing these trays. Most of it had to do with getting the handle just right. I spent a lot of time on it largely because I did not want to relive the nightmare that was the handle on the yoga room heater disaster. Yeah…never again.


I also wanted to be sure to get the finger joints just right (that’s what this style of corner joinery is called, also called box joints). There are more ways to do finger joints than there are finger joints. In this case, I did it on the Shaper Origin along with the companion setup jig called the Workstation.
The Build

Tree Tray
The Tree Tray was done first, and so I learned how not do it here. Basically on something like this, you need to sand and finish before final assembly, otherwise it it too difficult to get into corners and things.
While it is not quite as blotchy in real life as this photo would make it seem, it is still just a little too blotchy for my taste. The Flower turned out better.

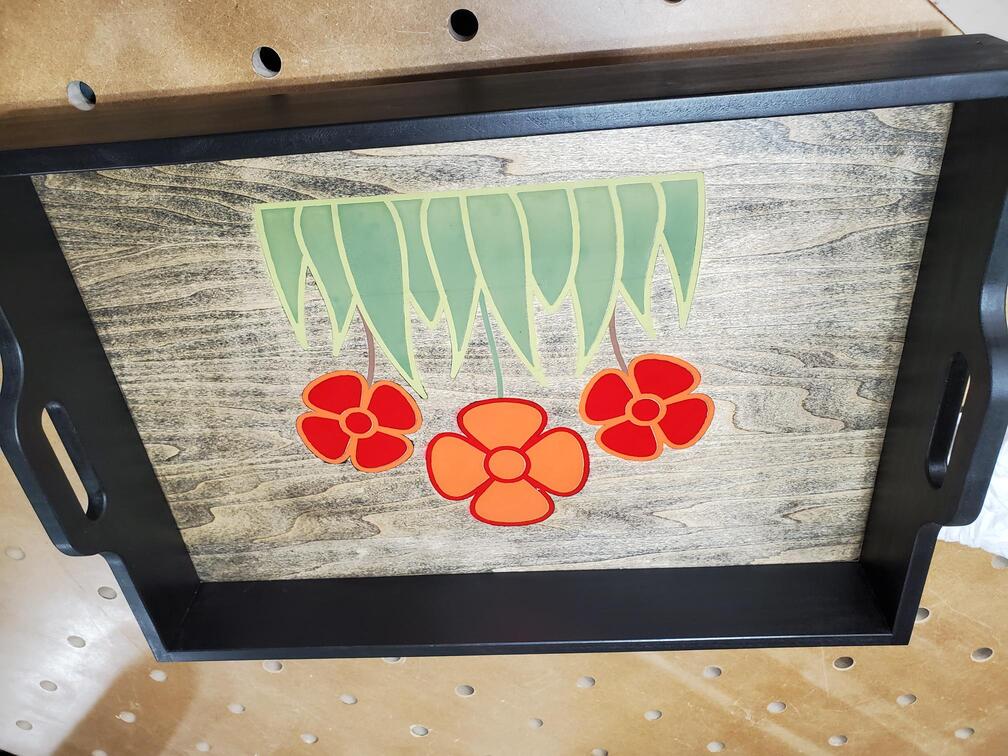
Flower Tray
The Flower Tray is where the learnings were applied and turned out better than the tree, but they make a good set.
Materials
- Poplar from KJP Select Hardwoods
- Various coloured epoxies by Chill Epoxy
- Shaper Origin to carve the inlays